
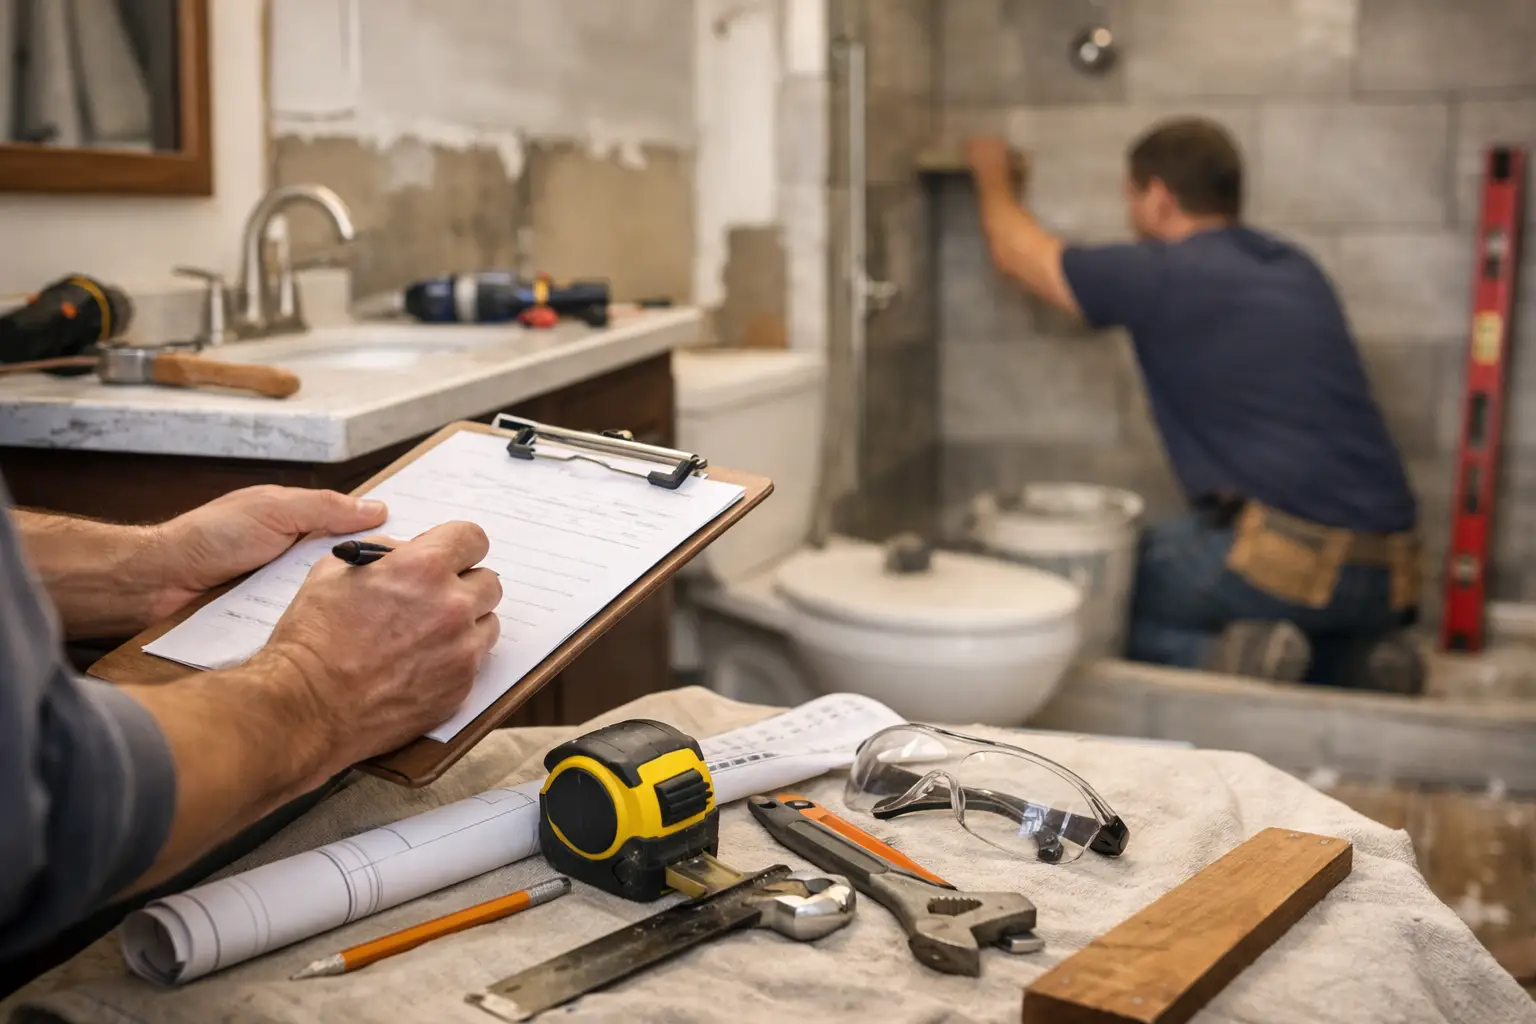
A bathroom can look like a manageable weekend project until the vanity arrives late, a shower valve needs to move, or tile is backordered. A clear bathroom remodel timeline checklist keeps decisions, materials, trade work, and inspections moving in the right order. It also helps homeowners understand which delays can be prevented and which ones require a practical adjustment.
For most full bathroom remodels, plan on several weeks from the first design conversation to final completion. The active construction phase may be shorter, but planning, product lead times, and permit requirements can add meaningful time before demolition begins.
Bathroom Remodel Timeline Checklist: Before Construction
1. Define the scope and budget
Start by deciding what the project needs to accomplish. Is the goal to replace aging finishes, solve a plumbing problem, improve storage, create a safer shower, or fully change the layout? A cosmetic update with a new vanity, fixtures, lighting, and paint follows a different schedule than a project that relocates plumbing or converts a tub into a custom shower.
Your budget should account for materials, labor, plumbing work, tile installation, glass, permits when required, and a contingency for conditions hidden behind walls or under flooring. In older Dallas-Fort Worth homes, water damage, outdated supply lines, or subfloor repairs can become visible only after demolition. Setting aside room for those corrections protects the quality of the finished bathroom.
2. Measure the room and make design selections
This phase typically takes one to three weeks, depending on how quickly decisions are made. Confirm the room dimensions, door swings, vanity width, shower layout, and locations of major fixtures before purchasing anything. A beautiful vanity is not useful if it blocks a door, leaves no clearance for a toilet, or conflicts with existing plumbing.
Choose the major finishes early: vanity, countertop, tile, flooring, tub or shower base, plumbing fixtures, lighting, mirrors, and hardware. Keep samples together and consider how they look under the bathroom’s actual lighting. If you are combining warm brass fixtures with cool gray tile, for example, review them side by side rather than relying on online images.
Custom glass, custom cabinetry, specialty tile, and certain fixtures often have longer lead times. Those products should be selected and ordered before the construction calendar is locked in.
3. Confirm permits and building requirements
Permit needs depend on the city and the type of work. Replacing a faucet in the same location may not require the same approvals as moving water lines, modifying drains, adding electrical circuits, or changing ventilation. In the Dallas-Fort Worth Metroplex, requirements can vary by municipality.
A qualified remodeling contractor can help identify what applies to your project and schedule work around inspections. Do not treat permits as a formality. They help verify that plumbing, electrical, and structural work is completed safely and can prevent problems when selling or insuring the home later.
4. Order materials before demolition
A common mistake is scheduling demolition first and shopping for the main materials afterward. That can leave a household with an unusable bathroom while waiting for a backordered toilet, damaged tile shipment, or delayed shower door.
Before work begins, confirm that the key items are on site or have dependable delivery dates. This includes the vanity, tile, grout, shower system, tub or shower base, toilet, lighting, exhaust fan, faucets, and trim. Inspect delivered materials for damage and confirm quantities, especially for tile. Ordering extra tile from the same production run is usually wiser than trying to match it later.
What Happens During Bathroom Construction
5. Prepare the home and protect adjacent areas
Before demolition, remove personal items from the bathroom and nearby cabinets. Identify the route workers will use to enter and carry materials. Professional preparation includes protecting floors, controlling dust, and keeping the work area organized.
If this is the only full bathroom in the home, make a temporary plan before work starts. Families may need to use another bathroom, adjust morning routines, or make short-term arrangements during days when plumbing is shut off. A contractor should explain those disruptions upfront rather than surprising you mid-project.
6. Demolition and hidden-condition review
Demolition often takes one to three days for a standard bathroom, though heavily tiled rooms or difficult access can add time. Once walls, floors, or an old tub are removed, the team can inspect framing, plumbing, wiring, and subfloor conditions.
This is the point where hidden issues may affect the schedule. A leaking shower pan, mold-damaged wall framing, corroded drain line, or uneven floor should be corrected before new finishes are installed. Moving forward without proper repairs may save a day now but can create a much more expensive failure later.
7. Complete rough plumbing, electrical, and framing
Rough-in work happens before walls are closed. Plumbers install or relocate supply lines, drains, shower valves, and fixture connections. Electrical work may include new GFCI outlets, lighting locations, an exhaust fan, or circuits needed for upgraded features.
If the layout changes, framing adjustments may be needed for a shower niche, blocking for grab bars, a recessed medicine cabinet, or a new door opening. This stage is where precise planning pays off. Changes made after tile installation are difficult, costly, and disruptive.
When permits apply, inspections may occur after rough work. Inspection timing is often outside the contractor’s direct control, so allow some flexibility in the schedule.
8. Close walls and prepare waterproof surfaces
After rough work is approved, wall board, cement board, and shower waterproofing can move forward. This is not an area to rush. A tiled shower depends on the waterproofing system behind the tile, not on grout alone.
Proper cure times also matter. Some materials need time before tile can be installed, and certain floor-leveling products, thinsets, grouts, and sealants need time before the next step. A bathroom that is built carefully may have short waiting periods between visible milestones.
9. Install tile, flooring, and paint
Tile work is often the most detail-intensive part of a bathroom remodel. Depending on the size of the shower, pattern complexity, niches, and accent details, it can take several days to more than a week. Large-format tile may create a clean look but can require additional surface preparation to keep lines straight and prevent lippage.
Flooring, wall tile, grout, and paint should be scheduled in a sequence that protects finished surfaces. Grout and caulk need proper curing time. Rushing those steps can affect appearance and long-term performance.
10. Set the vanity, fixtures, and glass
Once the finish surfaces are ready, the project begins to look like a completed bathroom. The vanity, countertop, sink, toilet, faucets, lighting, mirrors, accessories, and trim are installed. Plumbing connections are tested for leaks, drains are checked, and fixture alignment is reviewed.
Custom shower glass is commonly measured after tile is complete because even small variations in finished openings matter. Fabrication then takes additional time before installation. If custom glass is part of the design, plan for it as a final-stage item rather than expecting it immediately after tile work ends.
Final Checks Before You Sign Off
The last phase should include a detailed walkthrough, not a rushed handoff. Test every faucet, shower control, drain, light switch, outlet, fan, cabinet door, drawer, and toilet flush. Look closely at grout lines, caulk joints, paint edges, tile cuts, and hardware placement.
Use this final checklist to document any remaining items:
- Confirm hot and cold water operate correctly at every fixture.
- Check that drains flow properly and no plumbing connections leak.
- Test GFCI outlets, lighting, fans, and any added electrical features.
- Verify doors, drawers, shower glass, and accessories open and close correctly.
- Review finish details and confirm the work area is clean.
Small punch-list items are normal on a detailed renovation. What matters is that they are documented clearly, addressed promptly, and not dismissed as unimportant.
How to Keep Your Bathroom Remodel on Schedule
The fastest way to protect a remodel schedule is to finalize selections before work begins. Avoid changing tile, fixtures, vanity sizes, or layout decisions once materials have been ordered and rough work is underway. Changes are possible, but they often affect cost, delivery dates, and the work sequence.
Communication matters just as much. Ask who will be on site, when the home will be without water, what materials you need to provide, and how unexpected conditions will be handled. A dependable contractor should give direct answers, keep you informed, and explain the reason behind any necessary adjustment.
At Wisez Improvement, the goal is not simply to finish a bathroom quickly. It is to complete the plumbing, preparation, installation, and final details in the right order so the space functions as well as it looks. A realistic schedule gives your project room for quality work, clear decisions, and a finished bathroom you can rely on every day.