
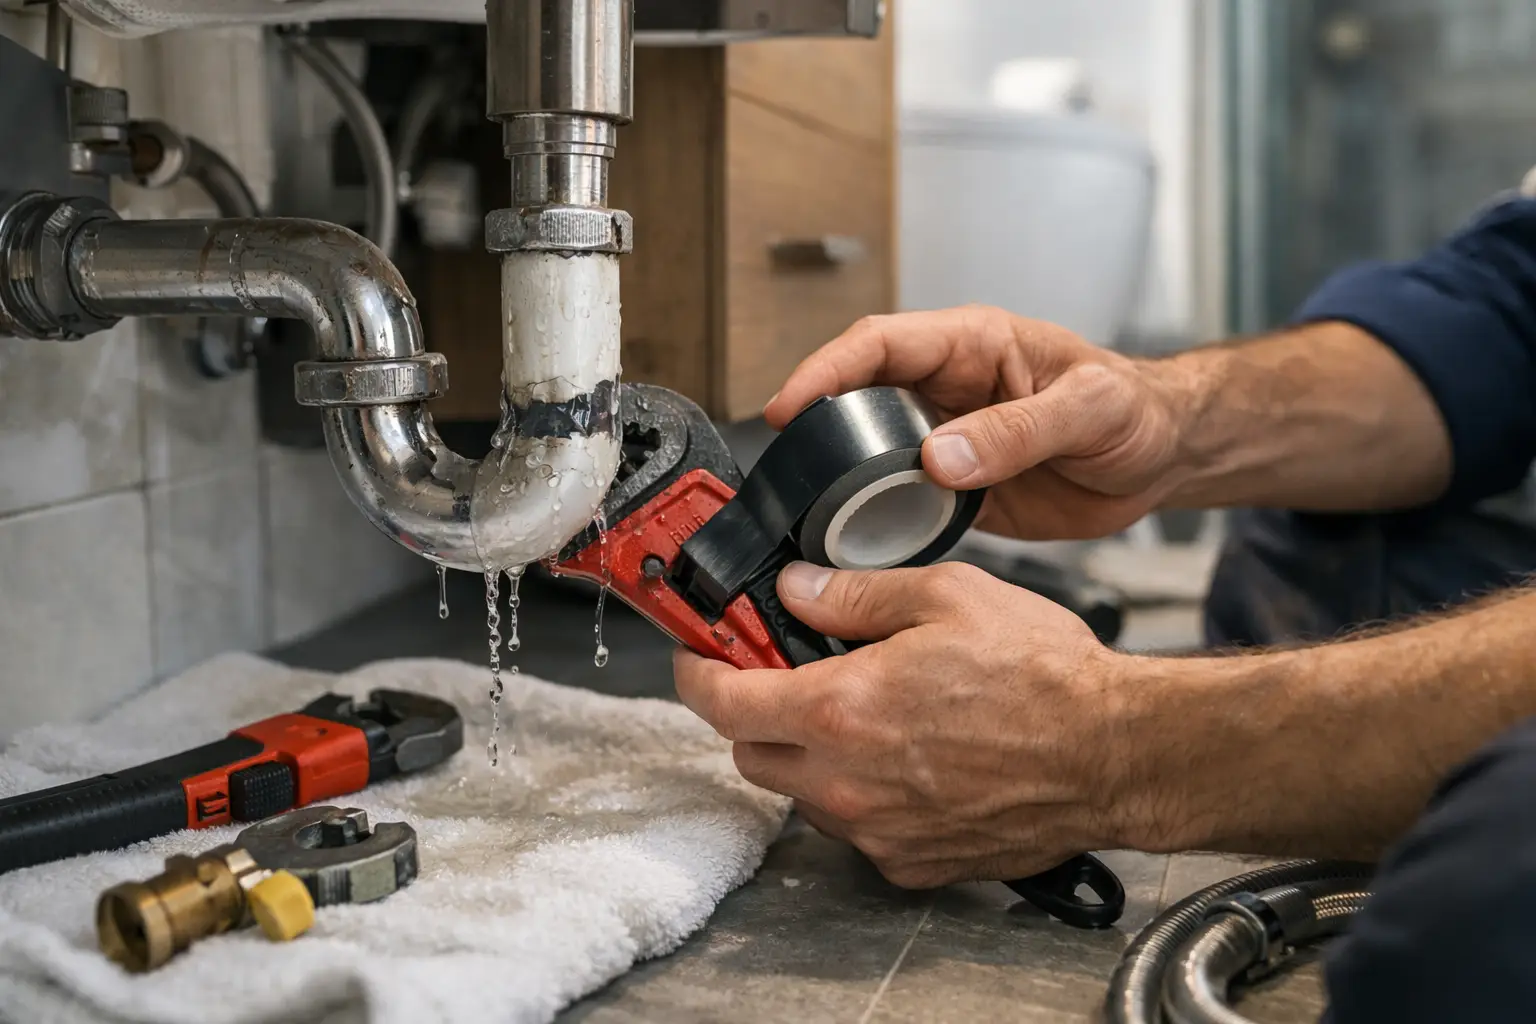
A broken pipe behind a bathroom vanity or inside a wall can turn a normal morning into a costly cleanup within minutes. If you need to fix a broken bathroom pipe, the first priority is not choosing a fitting or applying sealant. It is stopping the water, protecting the surrounding finishes, and identifying whether the problem is a visible connection or a hidden plumbing failure.
For Dallas-Fort Worth homeowners, quick action matters even more in bathrooms with older supply lines, aging drain assemblies, or previous remodeling work. A small drip can damage cabinet bases, loosen tile, stain ceilings below, and create moisture conditions that are much more expensive to correct later.
Start by Controlling the Water
If water is actively spraying, pooling, or leaking through the ceiling, shut off the water immediately. For a toilet, sink, or vanity supply line, the local shutoff valves are often located beneath the fixture. Turn the valve clockwise until it stops. If the valve will not close, or you cannot identify the source quickly, use the home’s main water shutoff.
Then open a nearby faucet to relieve pressure in the line. Put towels, a shallow pan, or a bucket beneath the leak if it is accessible. Move toiletries, stored items, rugs, and electrical devices out of the area. If water has reached an outlet, light fixture, or electrical connection, keep clear of it and call a qualified professional.
Do not assume the leak is contained just because the visible water has stopped. Check the cabinet floor, baseboards, the room below the bathroom, and adjacent walls. Damp drywall and swollen wood often reveal a leak that has been active longer than expected.
Find Out What Actually Failed
The right repair depends on the pipe material, the location of the break, and whether the issue is on a pressurized supply line or a drain line. These systems behave differently.
A supply line brings clean water to a faucet, toilet, shower valve, or tub. It remains under pressure when the shutoff is open, so even a pinhole or loose connection can produce a steady leak. Common materials include copper, PEX, CPVC, and flexible braided supply hoses.
A drain pipe carries used water away from the fixture. It is not usually pressurized, but a crack, failed seal, or loose connection can leak every time a sink, shower, or tub is used. Bathroom drains may be PVC, ABS, chrome-plated metal, or older cast iron.
A leak at a visible compression nut beneath a sink may only need a new washer, gasket, or drain assembly. A split supply hose should be replaced, not wrapped. A pipe that has cracked inside a wall, beneath a slab, or behind a tiled shower is a different situation. The repair may require opening finished surfaces, replacing a section of pipe, testing the line, and restoring the wall or tile correctly.
Look for Clues Before Taking Anything Apart
The timing of the leak tells you a lot. Water that appears only when the faucet runs usually points to a drain, P-trap, tailpiece, or faucet connection. Water that continues with the faucet off may indicate a pressurized supply line. A toilet leak that appears after flushing can come from the tank bolts, supply line, fill valve, wax ring, flange, or drain connection.
If you see water at the base of a shower wall or tub, do not automatically blame the pipe. Failed caulk, cracked grout, damaged waterproofing, or a leaking shower pan can send water into the same areas. Treating that as a simple pipe repair may hide the real problem.
When a DIY Repair Makes Sense
Homeowners can often handle small, accessible repairs when the affected part is clearly visible and the repair does not require cutting into walls, changing pipe materials, or working near electrical wiring. Replacing a worn faucet supply hose, tightening a loose trap connection, or changing a sink drain gasket can be reasonable projects for someone comfortable with basic tools.
The key word is accessible. A repair is not low-risk simply because the drip is small. Avoid using tape, epoxy putty, or chemical sealants as a permanent answer for a cracked water line. These products can sometimes slow a leak temporarily while you arrange service, but pressure, movement, and temperature changes usually cause the problem to return.
If you replace a supply hose, use a properly sized, quality braided connector and avoid overtightening the fittings. For drain repairs, clean the mating surfaces and install the correct washer or gasket rather than relying on extra sealant. Once finished, dry the area completely and run water for several minutes while checking every joint with a flashlight and dry paper towel.
How to Fix a Broken Bathroom Pipe Safely
A lasting repair generally follows a simple sequence: isolate the water, remove the failed section or component, install a compatible replacement, restore service, and test under normal use. The details matter because an incorrect fitting or poorly supported pipe can create another leak nearby.
For a visible flexible supply line, shut off the fixture valve and confirm the water is off at the faucet. Disconnect the old line, inspect the shutoff valve and faucet inlet for corrosion or damaged threads, and install the new connector according to its fitting type. Turn the water back on slowly. Watch for drips at both ends before placing anything back under the sink.
For a PVC drain line, a cracked trap or tailpiece is often replaced as an assembly. If the break is in a glued drain pipe, the damaged section may need to be cut out and replaced with the correct couplings. The pipe must be aligned properly and maintain the intended slope. A drain that looks dry during a quick test can still leak once the sink is filled and released or the shower runs for several minutes.
Copper, PEX, and CPVC supply pipes require more caution. Each material uses specific fittings, tools, and installation methods. Mixing methods, forcing an old corroded connection, or installing the wrong adapter can lead to a failure behind a wall. This is where professional repair is usually the more economical choice, especially when finished drywall, cabinetry, or tile is at risk.
Call a Professional for Hidden or Recurring Leaks
Some bathroom plumbing problems should not be treated as a weekend repair. Call for professional help when a pipe is inside a wall, under a floor, behind shower tile, or above a finished ceiling. The same applies when you notice recurring leaks, low water pressure, rusty water, mold odors, water stains, or multiple fixtures acting up at once.
A professional can locate the source without opening more of the bathroom than necessary, replace damaged piping with compatible materials, and test the system before repairs are closed up. For a remodeled bathroom, that coordination matters. Plumbing repair should protect the surrounding tile, vanity, waterproofing, and finishes instead of creating a patchwork result.
At Wisez Improvement, bathroom repair and remodeling work are approached with the full room in mind. If a leaking pipe has damaged a vanity, wall, shower enclosure, or flooring, the repair plan should address both the cause and the visible impact.
Do Not Skip the Drying and Damage Check
Stopping the leak is only half the job. Remove standing water and run fans to dry the area. Open the vanity doors and pull out wet contents. If the cabinet floor is swollen, drywall feels soft, or water has traveled into another room, the material may need further inspection or replacement.
Watch the area for the next several days. A repaired connection should stay dry through normal use, including hot water, cold water, a full sink drain, toilet flushes, and shower use. If moisture returns, shut the water off again and have the repair evaluated rather than tightening fittings repeatedly.
A bathroom pipe failure is disruptive, but a calm response limits the damage. Shut off the water, identify the source, handle only accessible repairs you can test with confidence, and bring in qualified help before a small leak reaches the structure behind your finished bathroom.