
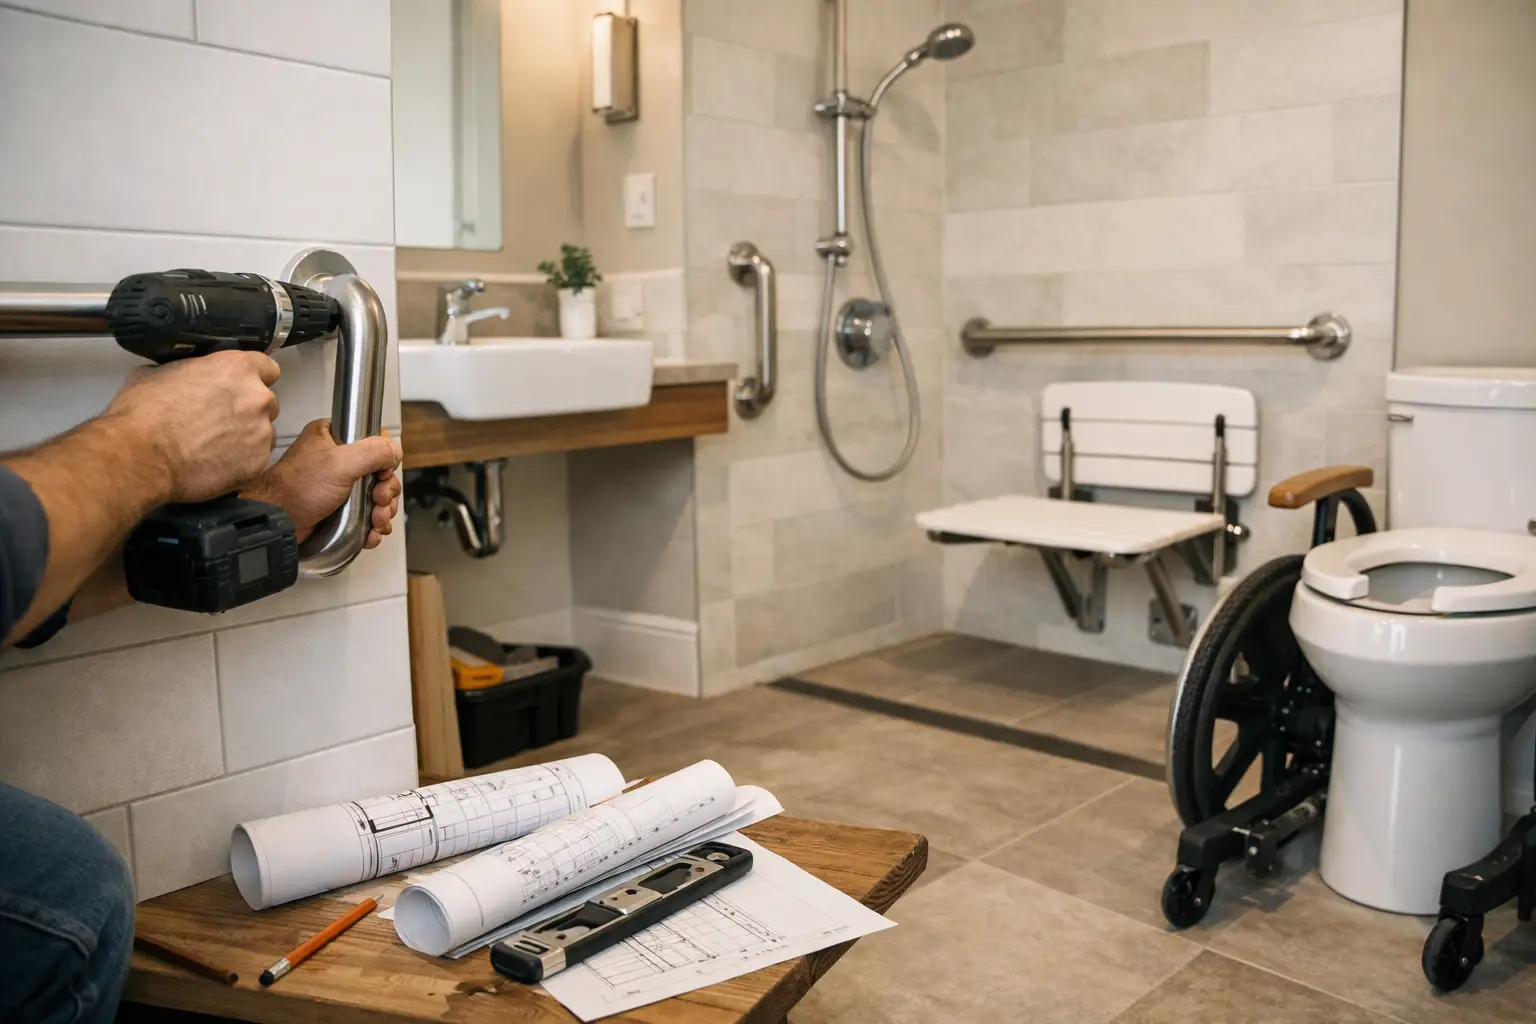
A bathroom can become difficult long before it looks outdated. A high tub wall, a slick shower floor, a vanity that blocks the path, or a toilet placed too close to the wall can turn ordinary routines into daily frustration. This guide to accessible bathroom design helps Dallas-Fort Worth homeowners plan a safer, more comfortable space without making it feel clinical or sacrificing the finishes they want.
Accessible design is not only for wheelchair users. It can support aging in place, recovery after surgery, parents helping young children, guests with limited mobility, and anyone who wants a bathroom that works better for years to come. The right plan starts with how the household uses the room now and where small challenges could become larger ones later.
Start With the Real Layout, Not the Wish List
Before selecting tile, fixtures, or glass, assess the room’s existing footprint. Measure door openings, walking paths, fixture clearances, and the distance between the vanity, toilet, and shower. In many older homes, the biggest limitation is not the finish material. It is a tight layout that forces people to turn sideways, step around a door, or navigate a narrow passage.
A clear route through the bathroom matters. A person using a walker, wheelchair, or shower chair needs room to move and turn, but even a homeowner without mobility equipment benefits from less crowding. In some bathrooms, widening a doorway or changing the door swing makes a more meaningful improvement than replacing every fixture.
Pocket doors and outward-swinging doors can free up interior floor space when the structure allows it. However, a pocket door requires enough wall cavity and may not be the right choice if plumbing, wiring, or framing is in the way. A contractor should evaluate those conditions before the design is finalized.
Use ADA Guidance as a Planning Reference
Private homes are not always required to meet commercial ADA standards. Still, ADA-based dimensions can be a useful reference for comfortable clearance, grab bar placement, accessible controls, and wheelchair movement. Local code requirements, the home’s structure, and the user’s specific needs should guide the final plan.
The goal is not to force a commercial restroom into a residential home. It is to create a bathroom where the necessary support features are built in thoughtfully and used naturally.
Prioritize a Low-Threshold Shower
For many homeowners, replacing a traditional tub with a walk-in shower is the most practical accessibility upgrade. A low-threshold or curbless shower reduces the need to step over a tub wall, which is one of the most common fall risks in the bathroom.
A true curbless shower requires careful planning. The shower floor must slope correctly toward the drain, and the subfloor may need to be recessed to create that slope without raising the bathroom floor. Drain location, waterproofing, and framing conditions all affect what is possible. This is not a project where surface-level changes should replace proper plumbing and waterproofing work.
Choose small-format tile or another slip-resistant shower surface. Smaller tiles can provide more grout lines for traction, while textured porcelain tile may offer a clean, durable alternative. Highly polished tile can look impressive in a showroom but may be less forgiving when wet.
A built-in shower bench can add comfort and stability, especially for people who need to sit while bathing or shaving. It should be fully waterproofed and sized for the available space. In smaller showers, a sturdy fold-down seat may preserve more room while still providing support.
Glass and Shower Controls Need Thoughtful Placement
Custom glass can make an accessible shower feel open and finished, but it should not create a barrier. A fixed glass panel is often easier to navigate than a swinging glass door. If a door is used, consider the clearance needed to open it safely and whether its hardware will be easy to grasp.
Place shower controls where they can be reached without stepping into the spray. A handheld showerhead on an adjustable slide bar gives users more flexibility than a fixed showerhead alone. Anti-scald valves are also worth including because they help control sudden temperature changes.
Build Support Into the Walls
Grab bars work only when they are anchored properly. Decorative suction bars and towel bars are not substitutes for securely installed support. During a remodel, adding solid blocking behind shower and toilet walls creates safe mounting locations now and allows additional grab bars to be installed later without opening finished tile.
This is one of the smartest future-focused decisions in accessible bathroom design. Blocking is relatively straightforward while walls are open, but much harder and more expensive after tile, waterproofing, and fixtures are complete.
Grab bars no longer have to look institutional. Many options resemble modern towel bars, shelves, or trim pieces while providing the strength needed for support. The right placement depends on how a person enters the shower, transfers to the toilet, and moves through the room. There is no one-size-fits-all location.
Choose a Vanity That Works From a Standing or Seated Position
Vanities should support the people who use them most. A standard cabinet vanity may be suitable for a homeowner who is standing comfortably, while an open knee space below the sink can make the room more usable for someone seated. Wall-mounted vanities can create additional toe clearance and make floor cleaning easier.
Faucets with lever handles are generally easier to operate than small twist knobs. Touchless fixtures can also be helpful, though they require power considerations and may not be everyone’s preference. For a simpler repair path, many homeowners prefer reliable single-handle faucets with easy-to-access shutoff valves.
Pay attention to mirror height, lighting, and outlet placement. A mirror that works only for a tall standing adult may not work for a seated user or a child. Good lighting at the face reduces shadows, while a night-light or low-level motion-sensor light can make late-night bathroom trips safer.
Improve Toilet Comfort and Transfer Space
Toilet height can make a noticeable difference. Comfort-height toilets are typically easier for many adults to sit down on and stand up from than lower, traditional models. They are not automatically best for every user, especially shorter adults or children, so testing the feel of different heights is worthwhile.
The space beside the toilet is just as important as the fixture itself. A user may need room for a caregiver, walker, or wheelchair transfer. That requirement can influence whether a vanity needs to be smaller, whether a partition wall should be removed, or whether a plumbing wall needs to be reworked.
If structural changes are necessary, it is better to identify them during planning than after demolition begins. A detailed site visit should account for drain locations, supply lines, vents, electrical needs, and the condition of the existing floor before a final scope and timeline are set.
Select Materials That Are Safe and Easy to Maintain
Accessible bathrooms should reduce maintenance burdens, not add to them. Porcelain tile, solid-surface shower pans, quartz countertops, and quality plumbing fixtures can provide durable performance with straightforward cleaning. The best material depends on budget, desired appearance, and the room’s existing conditions.
Avoid relying on loose bath mats as the primary safety solution. They can bunch up, slide, and create another tripping hazard. If a rug is used outside the shower, choose one with a secure non-slip backing and keep it dry.
Color contrast can also improve visibility. A white toilet against a white wall may look clean, but contrast between the floor, walls, fixtures, and grab bars can help define edges for someone with reduced vision. This does not require bold colors. A warm gray floor, a lighter wall tile, and brushed metal hardware can provide useful visual separation in a polished, residential design.
Plan for Plumbing and Electrical Early
Accessibility upgrades often involve more than fixtures. Moving a shower valve, installing a handheld showerhead, adding a bidet seat outlet, relocating a vanity, or improving lighting may require plumbing and electrical changes behind finished walls. These items affect the project budget and schedule, so they should be included from the start.
An experienced bathroom contractor can also identify repair issues that should be addressed during the remodel, such as aging shutoff valves, slow drains, hidden water damage, inadequate venting, or failing caulk and waterproofing. Covering up a plumbing problem with new finishes only delays the repair and puts the investment at risk.
For homeowners who want one team to handle design direction, fixture installation, tile work, custom shower construction, and corrective plumbing, Wisez Improvement can help build a practical plan around the home’s layout and the family’s needs.
A well-designed accessible bathroom should feel like a better bathroom first: easier to enter, safer to use, simpler to clean, and comfortable for the people who rely on it every day. Start with the obstacles you can see, ask about the conditions behind the walls, and make the changes that will still serve your household years from now.