
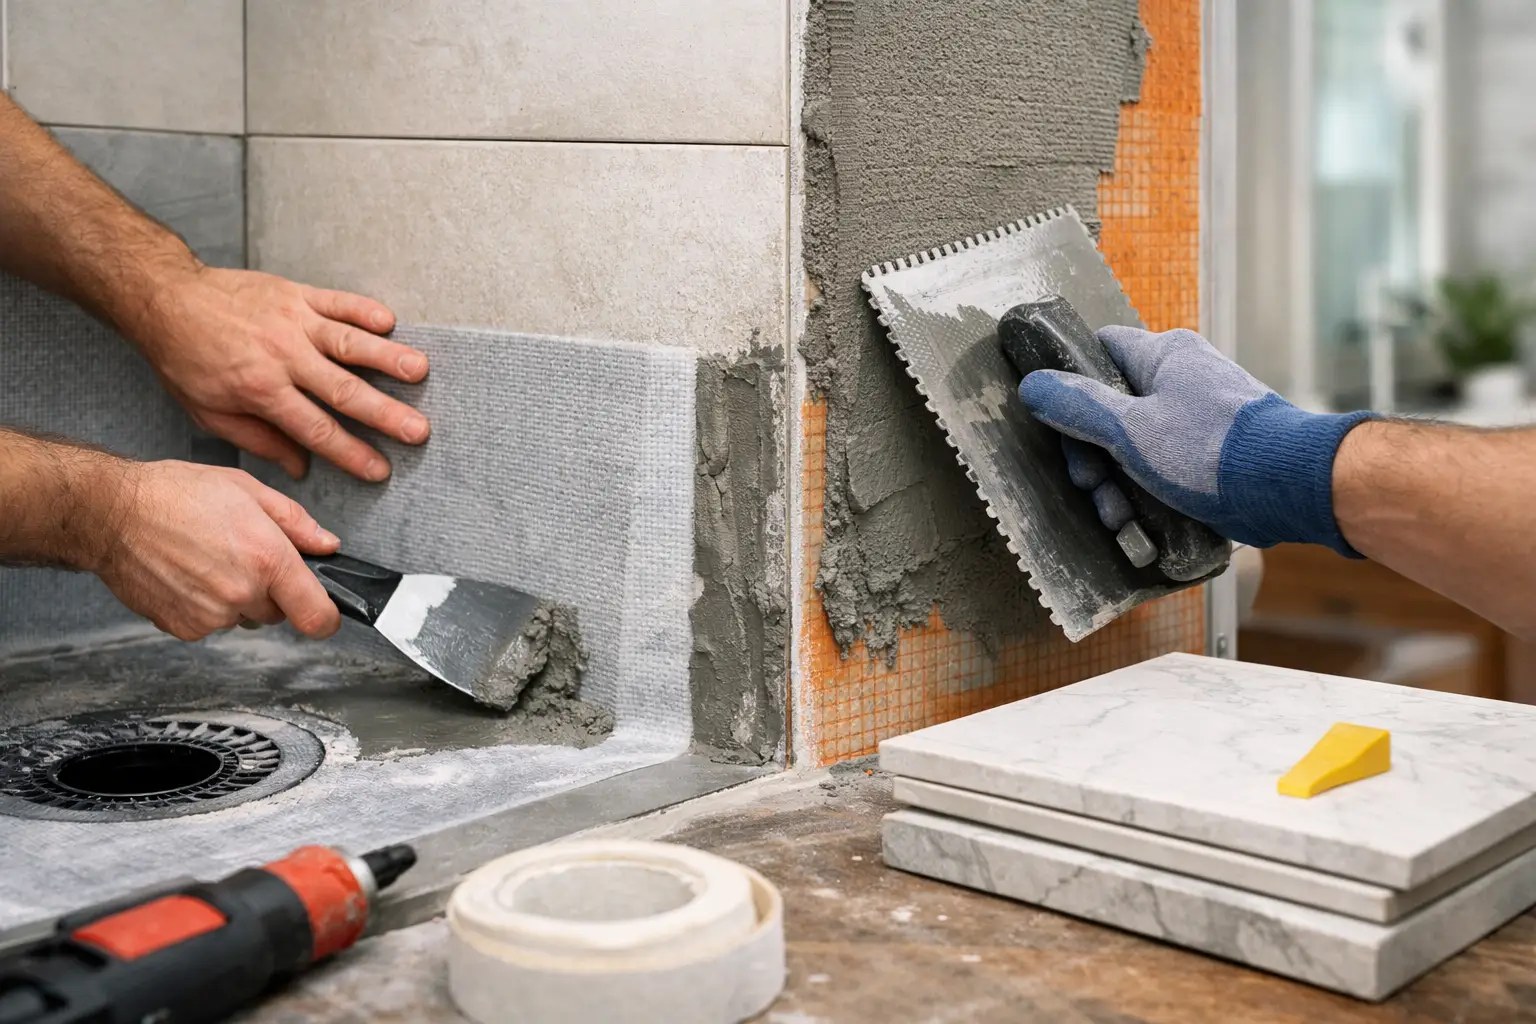
A shower can look finished long before it is protected. New tile, clean grout, and polished fixtures may hide a waterproofing failure that is already directing water into framing, subflooring, or the room below. This guide to shower waterproofing explains what needs to happen behind the tile, where problems usually start, and how to make informed decisions before a bathroom remodel moves forward.
Why Shower Waterproofing Matters More Than Tile
Tile and grout are not waterproof. They are finish materials that can shed much of the water that hits them, but moisture can still pass through grout joints, small cracks, corners, and penetrations around fixtures. The waterproof layer behind or beneath the tile is what keeps that moisture out of the wall cavity and shower structure.
When a shower is not properly waterproofed, the damage is often slow and hidden. Homeowners may first notice loose tile, dark grout that never seems to dry, peeling paint on the other side of a shower wall, swollen baseboards, or a ceiling stain below an upstairs bathroom. By that point, the repair may involve more than replacing a few tiles.
A well-built shower directs water back to the drain, protects the walls and curb, and accounts for every transition where materials meet. The goal is not simply to make the shower look new. It is to build a wet area that performs reliably for years.
The Parts of a Properly Waterproofed Shower
A complete shower system has several connected layers. The exact assembly depends on the shower design and waterproofing product selected, but the basic principle stays the same: create one continuous water-management system.
The Shower Pan and Drain Connection
The shower floor takes the most daily abuse. It needs a correctly sloped base so water moves toward the drain rather than pooling under the tile. In a tiled shower, the slope should be established before the waterproofing membrane is installed. The membrane then ties into a compatible drain assembly designed for the chosen system.
A flat shower floor or an improperly connected drain can cause recurring moisture problems even when the wall tile looks flawless. Water that sits beneath the tile can contribute to odors, efflorescence, loose flooring, and eventual failure around the drain.
For curbless showers, planning is even more critical. The bathroom floor elevation, drain location, slope, and waterproofing transition must be coordinated before tile installation. This is not an area to solve after the walls are closed.
Wall Backer and Waterproof Membrane
Drywall is generally not the right substrate inside a tiled shower unless a specific manufacturer-approved system calls for it. Most showers use cement board, foam board, or another approved tile backer. The backer provides a stable surface, but it is not automatically a waterproof barrier.
Waterproofing is commonly handled in one of two ways. A sheet membrane is bonded over the shower walls and floor, with seams and corners sealed according to the system requirements. A liquid-applied membrane is rolled, brushed, or troweled on in multiple coats until it reaches the required thickness.
Both methods can perform well when installed correctly. Sheet membranes offer consistent thickness and clearly sealed seams, while liquid membranes can adapt well to detailed surfaces and irregular areas. The trade-off is that liquid products require careful coverage and thickness control. A coating that is too thin, missed at a corner, or not fully cured can become a weak point.
Corners, Seams, and Pipe Openings
Most shower leaks occur at transitions, not in the middle of a wall. Inside corners, wall-to-floor joints, bench connections, niches, curb edges, and pipe penetrations all need special attention.
A waterproofing system should continue uninterrupted across these areas. That usually means using reinforcing tape, preformed corner pieces, sealant, or membrane accessories that work with the selected system. Mixing products from unrelated systems can create uncertainty around adhesion and warranty coverage.
The shower valve, shower arm, body sprays, and handheld connections also require proper sealing. These openings cannot simply be cut around and forgotten. The membrane needs to be sealed tightly while still allowing access to serviceable plumbing components where needed.
Curbs, Benches, and Niches
These features add function and design value, but they also add risk if they are not built and waterproofed as part of the overall system.
A shower curb must be fully protected, including its top and both sides. Fasteners should never puncture the waterproofing on the top or inside face of the curb where water exposure is highest. A bench needs to be sloped slightly toward the shower so water does not sit against the wall. Recessed niches should be waterproofed at every corner and pitched outward at the bottom.
The more custom details a shower includes, the more important experienced installation becomes. Large-format tile, linear drains, frameless glass, multiple niches, and curbless entries can create an excellent finished result, but each requires precise preparation before tile work begins.
Common Waterproofing Mistakes to Avoid
Some failures come from cutting corners. Others happen when a project uses good materials without following the installation requirements. In either case, tile removal is often the only dependable way to correct the problem.
Watch for these warning signs during a remodel:
- A contractor describes grout or caulk as the main waterproofing protection.
- Wall board is installed without a clear plan for a surface membrane or approved moisture barrier.
- The shower pan is not flood-tested before tile is installed.
- Fasteners are driven through the curb or through waterproofed areas without proper sealing.
- The shower floor, bench, or niche lacks a visible slope toward the drain.
One additional concern is applying waterproofing only in selected spots. A membrane should not stop at an arbitrary line where it leaves exposed transitions below. The system must be continuous enough to manage the water that reaches it.
Should You Use a Prefabricated Pan or a Custom Tile Pan?
This decision depends on the layout, budget, and desired finish. A prefabricated shower pan can be a practical choice for standard-sized spaces and faster installations. It is manufactured with the correct slope and can reduce variables in the field. Acrylic or composite pans are also easy to clean and may suit homeowners who prefer fewer grout lines.
A custom tile pan provides more design flexibility. It can accommodate unusual dimensions, linear drains, curbless entries, and coordinated tile finishes. It also requires more detailed waterproofing and slope work, which makes proper installation especially important.
Neither option is automatically better. A standard shower with a quality prefabricated pan may be the most efficient solution. A custom shower built around accessibility, a specific layout, or a high-end tile design may justify a fully tiled waterproofed base.
Why a Flood Test Is Worth Requesting
Before tile covers the shower floor, a flood test checks whether the pan and drain connection hold water as intended. The drain is temporarily plugged, the pan is filled to a safe test level, and the water level is monitored for a set period. If there is a leak, it is far easier to find and repair before thinset and tile are installed.
A flood test does not replace quality workmanship across the walls, curb, and plumbing openings. It does, however, provide a meaningful checkpoint at one of the most failure-prone parts of a shower. Ask about this step early, since it needs to be included in the project schedule.
Questions to Ask Before Shower Tile Begins
Homeowners do not need to manage every technical detail, but a few direct questions can clarify whether the project has a sound plan. Ask what waterproofing system will be used, how the drain will connect to it, and whether the shower pan will be flood-tested. If the design includes a niche, bench, curb, or curbless entry, ask how each feature will be sloped and sealed.
It is also reasonable to ask for progress updates before the tile goes up. Photos of the completed waterproofing stage can be useful documentation for future maintenance, resale, or insurance questions. Clear communication at this stage helps prevent assumptions from becoming expensive corrections later.
For Dallas-Fort Worth homeowners, a bathroom project may begin with a cosmetic goal but reveal plumbing repairs, damaged subflooring, or evidence of an older shower leak once demolition starts. A contractor who understands both remodeling and repair can address those conditions in the right sequence instead of covering them with new finishes.
A shower should feel like the easiest room in the house to use, not a source of uncertainty behind the walls. Before selecting the tile color or glass enclosure, make sure the waterproofing plan is specific, complete, and built around the way your shower will actually be used.