
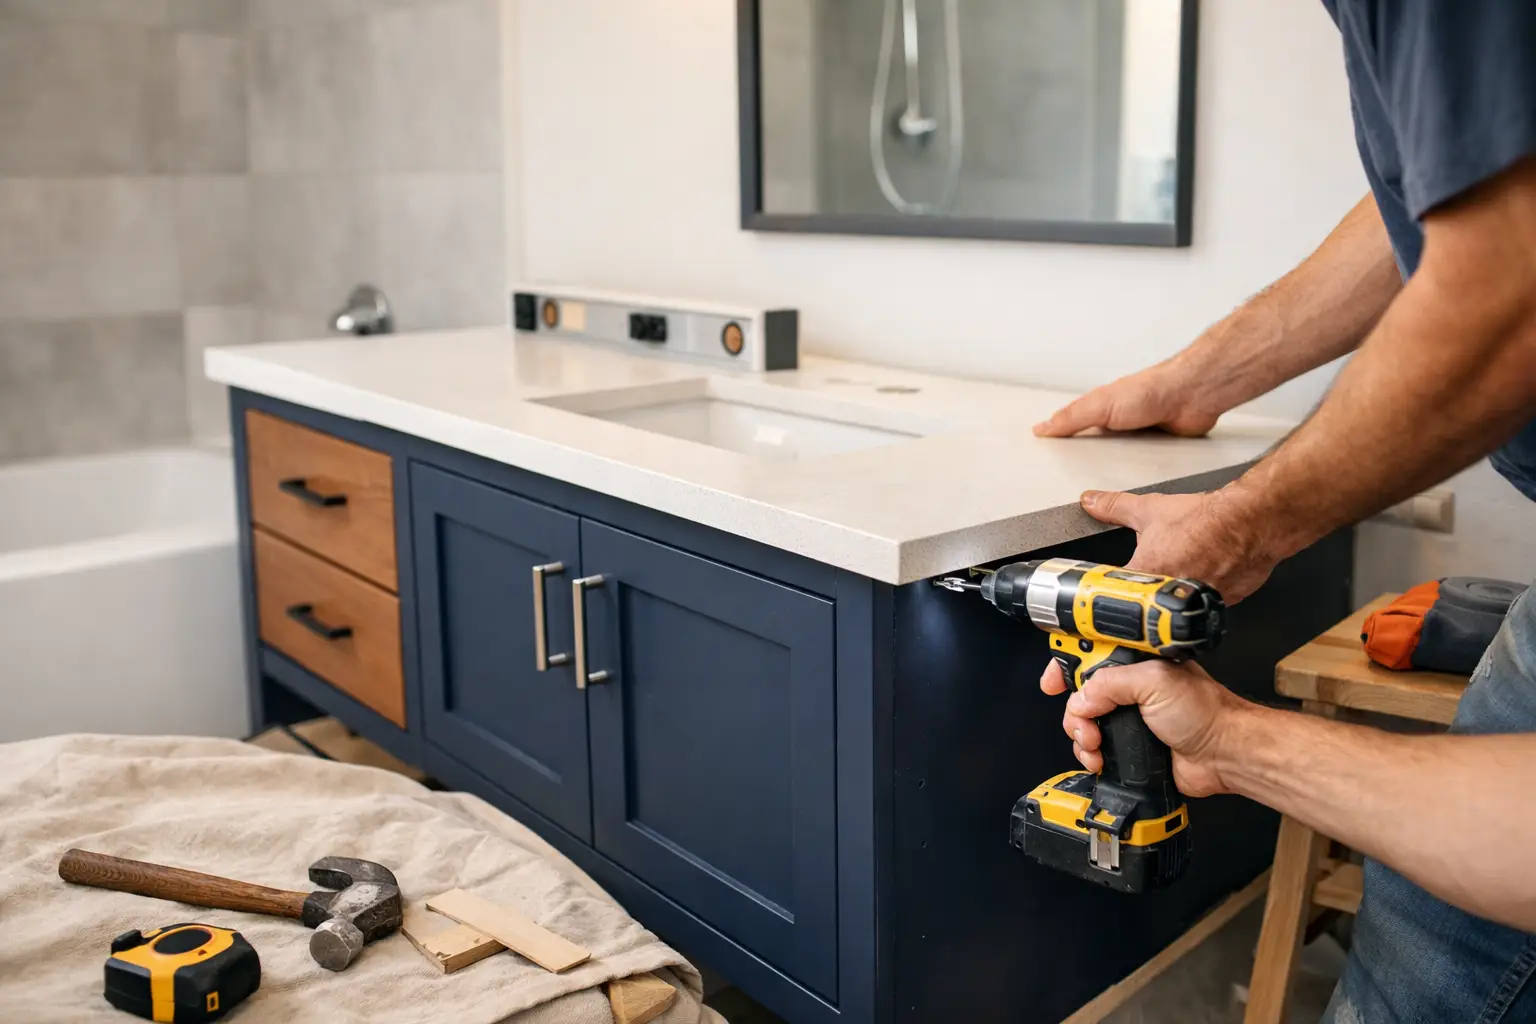
A new vanity can make an older bathroom feel more functional in a single day, but only when the cabinet fits the room, the plumbing, and the people who use it. Vanity cabinet installation is not simply setting a box against a wall and attaching a countertop. The work affects storage, daily traffic flow, water connections, wall support, and the finished appearance of the entire bathroom.
For Dallas-Fort Worth homeowners, the best installation starts before a cabinet is ordered. A vanity that looks right online can create expensive problems if the drain sits in the wrong place, a door hits the toilet, or the wall is not prepared to hold the cabinet securely. Careful planning avoids those surprises and produces a bathroom that works as well as it looks.
Start With Measurements That Account for Real Life
Bathroom dimensions set the limits, but usable clearance determines whether a vanity is comfortable. Measure the wall where the cabinet will sit, then measure the distance to the toilet, tub, shower entry, doors, and nearby drawers. Account for baseboards, door casing, and uneven walls, especially in older homes.
A standard vanity depth is often around 21 inches, though slimmer options can be a better fit in a compact hall bathroom or powder room. Reducing depth may preserve walking space, but it also reduces counter area and storage. That trade-off may be worthwhile when a deep vanity makes the room feel crowded or blocks a door swing.
Width matters just as much. A larger double-sink vanity may be practical for a busy primary bathroom, but it needs enough counter space between sinks and enough room for both users to move comfortably. In a smaller bathroom, a well-designed single vanity with organized drawers can deliver better day-to-day function than a double vanity squeezed into the available wall.
Before finalizing the size, consider who uses the room. A wall-mounted vanity can create a lighter, more open look and make floor cleaning easier. A floor-mounted cabinet generally offers more storage and can be a practical choice for families. The right option depends on the layout, the wall structure, and the amount of storage the household actually needs.
Check Plumbing Before Vanity Cabinet Installation
Plumbing location is one of the most common reasons an otherwise straightforward project becomes more involved. The cabinet must accommodate the drain, water shutoff valves, supply lines, and P-trap without forcing awkward cuts or restricting access for future repairs.
Open the existing vanity or remove it carefully to inspect what is behind and below it. Confirm where the drain exits the wall, where the supply valves sit, and whether the shutoffs operate properly. Corroded valves, slow leaks, damaged supply lines, and aging drain connections are worth addressing while the wall and cabinet area are accessible.
A new cabinet may have drawers, shelves, or a center divider that conflicts with the existing plumbing. Sometimes the cabinet can be modified neatly. In other cases, moving the plumbing is the better long-term solution. This is especially common when changing from a single sink to a double sink, installing a floating vanity, or relocating the vanity to improve a cramped layout.
Do not conceal a problem just to finish the installation faster. A small leak behind a new vanity can damage the cabinet, flooring, drywall, and adjacent rooms before it becomes visible. Correcting plumbing concerns before the countertop goes on protects the investment and helps prevent a repair call shortly after the remodel is complete.
Prepare the Wall, Floor, and Cabinet Area
A vanity cabinet needs a level base and solid attachment points. Floors are not always perfectly flat, and walls are not always square. If a cabinet is installed without correcting those conditions, doors may not align, drawers may slide poorly, and the countertop can sit unevenly.
First, inspect the wall for moisture damage, loose drywall, or signs of a past leak. Then locate studs and confirm the cabinet can be anchored where it needs support. Wall-mounted vanities require especially careful blocking or stud attachment because the cabinet, countertop, sink, and stored items all place weight on the wall.
For floor-mounted cabinets, installers typically level the cabinet with shims before securing it. The cabinet must be level from side to side and front to back. Shims should be installed in a way that provides stable support rather than creating pressure points that can twist the cabinet frame.
If new flooring is part of the project, decide whether it will run under the vanity or stop at the cabinet edge. Flooring under a wall-mounted vanity creates a clean, continuous finish. With a floor-mounted cabinet, installing flooring first can make a future vanity replacement easier, though the approach depends on the material, budget, and overall renovation plan.
Do Not Skip Dry Fitting
Before fastening the cabinet in place, dry fit it. Place the vanity where it will be installed and check the plumbing openings, wall contact, drawer travel, door clearance, and countertop overhang. This is the time to make clean adjustments, not after silicone, stone, or plumbing connections are in place.
Dry fitting also reveals whether the cabinet needs a filler strip at one side. A filler can provide necessary clearance near a wall and create a more finished appearance. It is far better than forcing a cabinet tight against an uneven wall where doors and drawers may rub.
Secure the Cabinet and Finish the Details
Once the cabinet is level and positioned correctly, it should be fastened securely to wall studs or appropriate structural blocking. Fasteners should go through the cabinet’s mounting rail or designated attachment area, not through a thin panel that was not designed to carry load.
After the cabinet is secure, the countertop and sink can be installed. The material affects timing and handling. A cultured marble top may arrive with an integrated sink and be set in one piece. Quartz, granite, and other stone tops may require professional measuring and fabrication after the cabinet is installed. That adds time, but it allows the top to fit walls and corners more precisely.
Plumbing connections come next. The drain, P-trap, supply lines, faucet, and shutoff valves should be connected and tested with both hot and cold water running. Fill the sink and release it while checking every connection underneath for moisture. A slow leak can be easy to miss, so dry the fittings and check again after the water has run for several minutes.
Caulk is the final protective detail, not a substitute for proper installation. A neat bead along the backsplash and wall helps keep splashes from entering gaps. Use a bathroom-rated, mildew-resistant sealant and keep the line clean. Excess caulk, loose trim, or visible shims can make a quality cabinet look unfinished.
Common Problems Homeowners Can Avoid
Most vanity installation issues come from rushing the selection or skipping prep work. Watch for these common problems:
- Ordering a cabinet based on overall room width without checking door swings, toilet clearance, and usable walking space.
- Choosing drawers that cannot clear drainpipes or water valves.
- Installing over a floor or wall damaged by a previous leak.
- Anchoring the cabinet only to drywall rather than solid framing.
- Setting the countertop before verifying the cabinet is level.
- Reusing worn shutoff valves or old supply lines that are likely to fail.
The cost of correcting any one of these issues can exceed the time saved by taking shortcuts. A professional installation is often most valuable when the project involves plumbing changes, a heavy stone top, wall-mounted cabinetry, uneven surfaces, or signs of hidden water damage.
When Professional Installation Makes Sense
Some homeowners are comfortable replacing a like-for-like vanity with accessible plumbing and a simple laminate top. Even then, the work requires accurate measuring, careful leveling, and leak testing. The project becomes more technical when the new vanity changes the footprint, sink configuration, cabinet style, or countertop material.
A remodeling contractor with plumbing experience can coordinate the details instead of treating them as separate problems. Wisez Improvement helps homeowners address the cabinet, plumbing, countertop coordination, tile, fixture replacement, and repair work that often come together in a bathroom update. That approach is useful when an aging bathroom has more going on behind the vanity than the visible cabinet suggests.
A properly installed vanity should feel ordinary once the work is done: drawers open cleanly, the cabinet sits solidly, the faucet works without leaks, and the room has the storage and clearance your household needs. If you are planning a bathroom update, begin with a clear measurement and plumbing assessment, then choose an installation plan that supports the bathroom you want to use every day.