
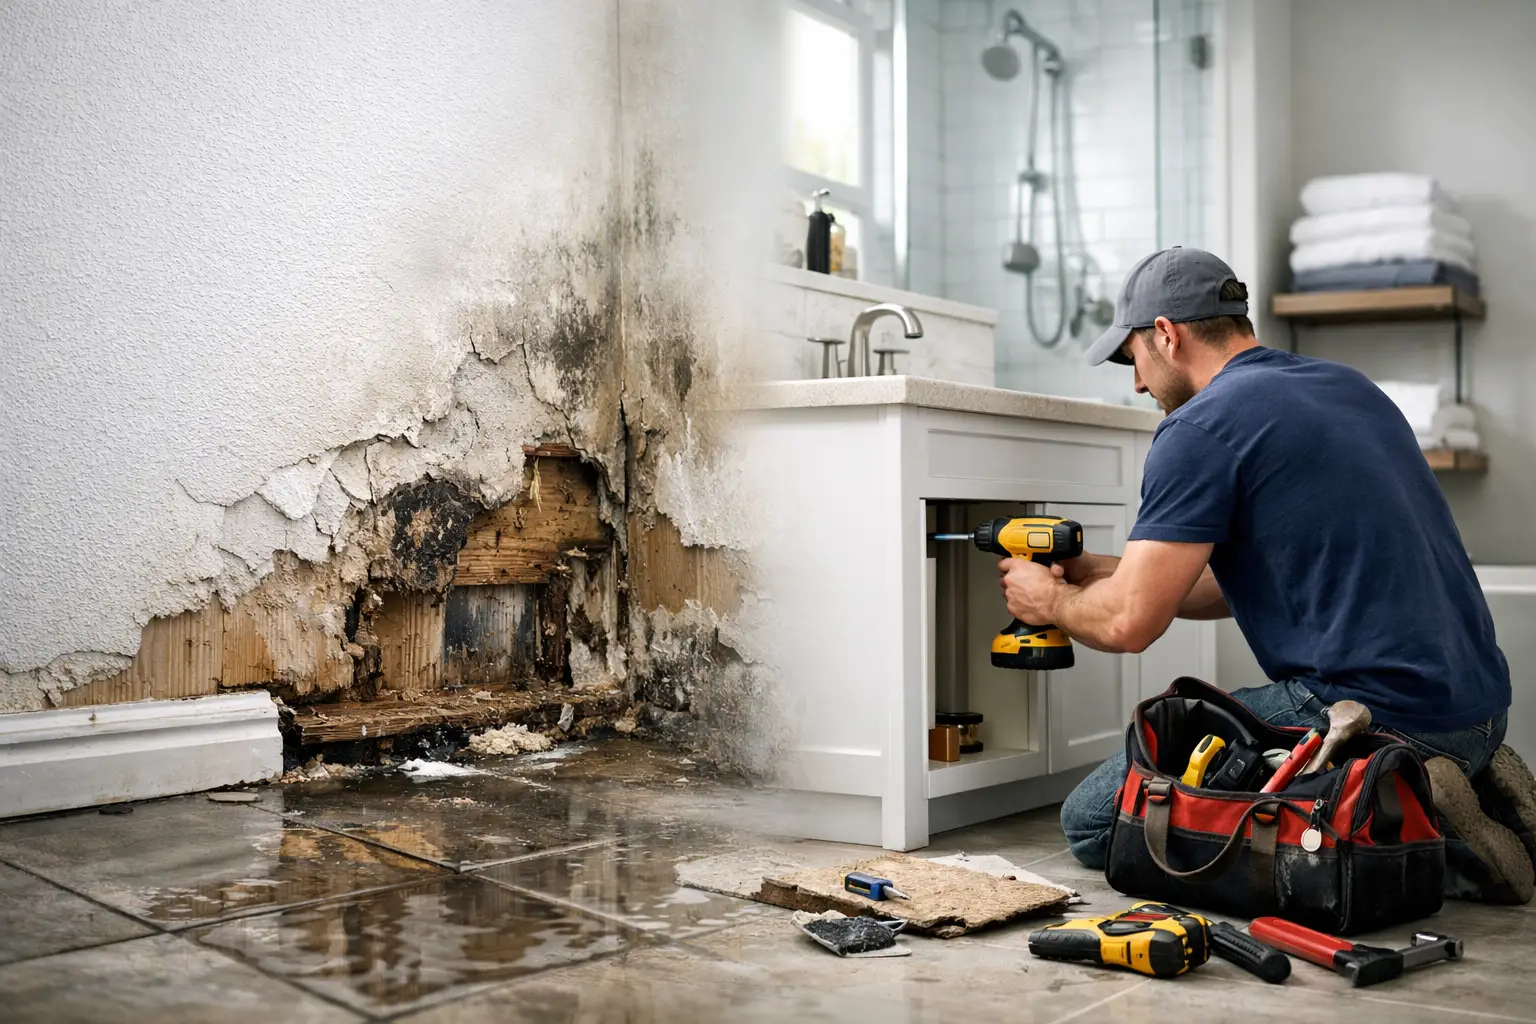
A water damaged bathroom repair example often starts with something homeowners can easily miss: a loose toilet, a soft spot near the tub, peeling paint under a window, or a vanity cabinet that suddenly will not close correctly. The visible damage may be small, but water can travel behind finished surfaces and weaken the materials that support the room.
For Dallas-Fort Worth homeowners, the right repair is not simply covering a stain or replacing a few tiles. It means identifying where the moisture came from, confirming the extent of the damage, removing failed materials, and rebuilding the bathroom so it works reliably every day.
A Typical Water Damaged Bathroom Repair Example
Consider a hall bathroom with a tub-shower combination, ceramic floor tile, and a standard vanity. The homeowner notices that the vinyl baseboard beside the toilet is separating from the wall. A few weeks later, the floor feels slightly soft near the vanity, and there is a faint musty odor after the shower runs.
The source turns out to be a slow leak at the toilet supply connection, combined with failed caulk where the tub meets the wall. Neither problem created a dramatic flood. Over time, however, water reached the baseboard, drywall, vanity toe kick, and plywood subfloor. The tub-side leak also allowed moisture to enter the wall behind the shower surround.
This is a common repair scenario because bathrooms are built from layers. Tile, grout, paint, caulk, cabinets, drywall, underlayment, and framing can all hide water until the damage becomes noticeable. A surface repair may look better for a short time, but it will not solve decay, mold growth, or an active plumbing issue behind it.
Step One: Find the Source Before Opening the Room
A proper repair begins with investigation. The contractor checks plumbing connections, toilet seals, shutoff valves, shower valves, drain lines, tub overflow components, and areas around the shower enclosure. The goal is to distinguish between a supply leak, a drain leak, failed waterproofing, condensation, or water escaping through worn caulk and grout.
That distinction matters. A leaking supply line can release water even when the bathroom is not in use. A drain leak may only show up during a shower or when the tub is full. Failed shower waterproofing usually allows water to enter the wall or floor gradually, especially around corners, niches, and transitions.
Moisture readings and visual checks help define the repair area. In the example above, the toilet is removed, the vanity is disconnected, and selected sections of baseboard and drywall are opened. This exposes the damaged materials without tearing out sound parts of the bathroom unnecessarily.
Step Two: Remove Damaged Materials Safely
Once the source is repaired and the affected area is identified, wet or deteriorated materials need to come out. That can include baseboards, drywall, insulation, cabinet parts, flooring, tile backer, underlayment, or sections of subfloor. What stays depends on its condition, not on whether it is convenient to leave in place.
In this example, the vanity bottom has swollen and must be replaced. The floor tile near the toilet and vanity is removed because water has compromised the underlayment beneath it. A small section of subfloor is also cut out where the plywood has softened. Behind the tub, damaged drywall is removed and the wall cavity is dried before new backing and waterproofing are installed.
This stage can feel disruptive, but it is where the repair becomes dependable. Installing new tile over a weak floor or placing a new vanity against damp drywall creates a polished-looking problem that may return sooner than expected.
There is also a practical trade-off. If the damage is limited to one small area and matching materials are available, a targeted repair may make sense. If the tile is discontinued, the shower surround is aging, or multiple areas show moisture damage, a larger bathroom renovation can be the more cost-effective decision. It avoids spending money to patch materials that are already near the end of their service life.
Step Three: Repair Plumbing and Rebuild the Structure
With the damaged materials removed, the underlying repairs can begin. In this case, the leaking toilet supply connection is replaced, the toilet flange is inspected, and the tub-side water intrusion is addressed with new wall backing and a proper waterproofing system. The repaired space must be dry before new finishes go in.
The damaged subfloor section is replaced and secured so the floor is solid and level. This is especially important before tile installation. Tile and grout are hard surfaces. When the floor below them flexes, grout can crack, tile can loosen, and water can find another path into the assembly.
New drywall or cement board is installed where appropriate, followed by waterproofing in wet areas. The distinction is important: drywall may work outside a splash zone, while shower walls and tub surrounds need materials designed to handle repeated moisture exposure. Then the team can install new tile, flooring, baseboards, a vanity, fixtures, and fresh caulk at every required transition.
A careful rebuild also considers access. If a shutoff valve is outdated, difficult to reach, or showing signs of corrosion, replacing it during the repair can prevent another service call later. The same thinking applies to worn drain components, deteriorated toilet seals, and old shower trim.
What Determines the Cost and Timeline?
Water damage repair costs vary because the visible issue rarely tells the whole story. A minor leak caught early may require a plumbing repair, limited drywall replacement, and paint. A bathroom with damaged subfloor, failed shower walls, and a ruined vanity may require a more involved rebuild.
The largest cost factors are usually the source of the leak, the amount of demolition required, the condition of the framing and subfloor, and the finish materials selected for the rebuild. Custom tile, glass shower panels, upgraded vanities, and fixture changes can turn a repair into a meaningful renovation, which may be worthwhile when the bathroom was outdated before the leak occurred.
Timeline also depends on drying time, material availability, inspection needs, and the complexity of the work. A small plumbing-driven repair can move quickly once the source is corrected. A bathroom rebuild involving tile, cabinetry, and custom glass requires coordinated steps and proper cure time. Rushing those stages is not a shortcut worth taking.
Signs You Should Schedule an Evaluation
Homeowners should not wait for a ceiling stain or major floor failure to investigate a suspected leak. Small changes around bathroom fixtures often provide an early warning. Look for soft flooring, loose tile, cracked grout that keeps returning, peeling paint, swollen cabinet panels, discoloration around the toilet, persistent odors, or caulk that separates shortly after being replaced.
You may also notice that a toilet rocks slightly, a shower wall feels soft, or the bathroom floor is colder or more flexible in one area. These conditions do not always mean extensive water damage, but they deserve a closer look. Early repairs can preserve more of the existing bathroom and reduce the scope of demolition.
Repairing the Bathroom Without Losing the Design Opportunity
A water damage repair is frustrating, but it can also be the right time to correct a bathroom that no longer fits the household. A cramped vanity can be replaced with better storage. An old tub can be converted to a more accessible shower. Poor lighting, dated tile, and inefficient fixtures can be addressed while the room is already open.
The key is deciding what needs repair first, then choosing upgrades that make sense for the home and budget. A contractor experienced in both plumbing repair and bathroom remodeling can help homeowners avoid a disconnected process where one company stops at demolition and another has to solve the finish work.
Wisez Improvement approaches bathroom water damage with that full-project mindset: locate the issue, repair the cause, rebuild the affected area correctly, and help homeowners make practical finish decisions. The best next step is a clear on-site assessment, because a small leak deserves a solution that protects the entire bathroom, not just the spot where it first appeared.