
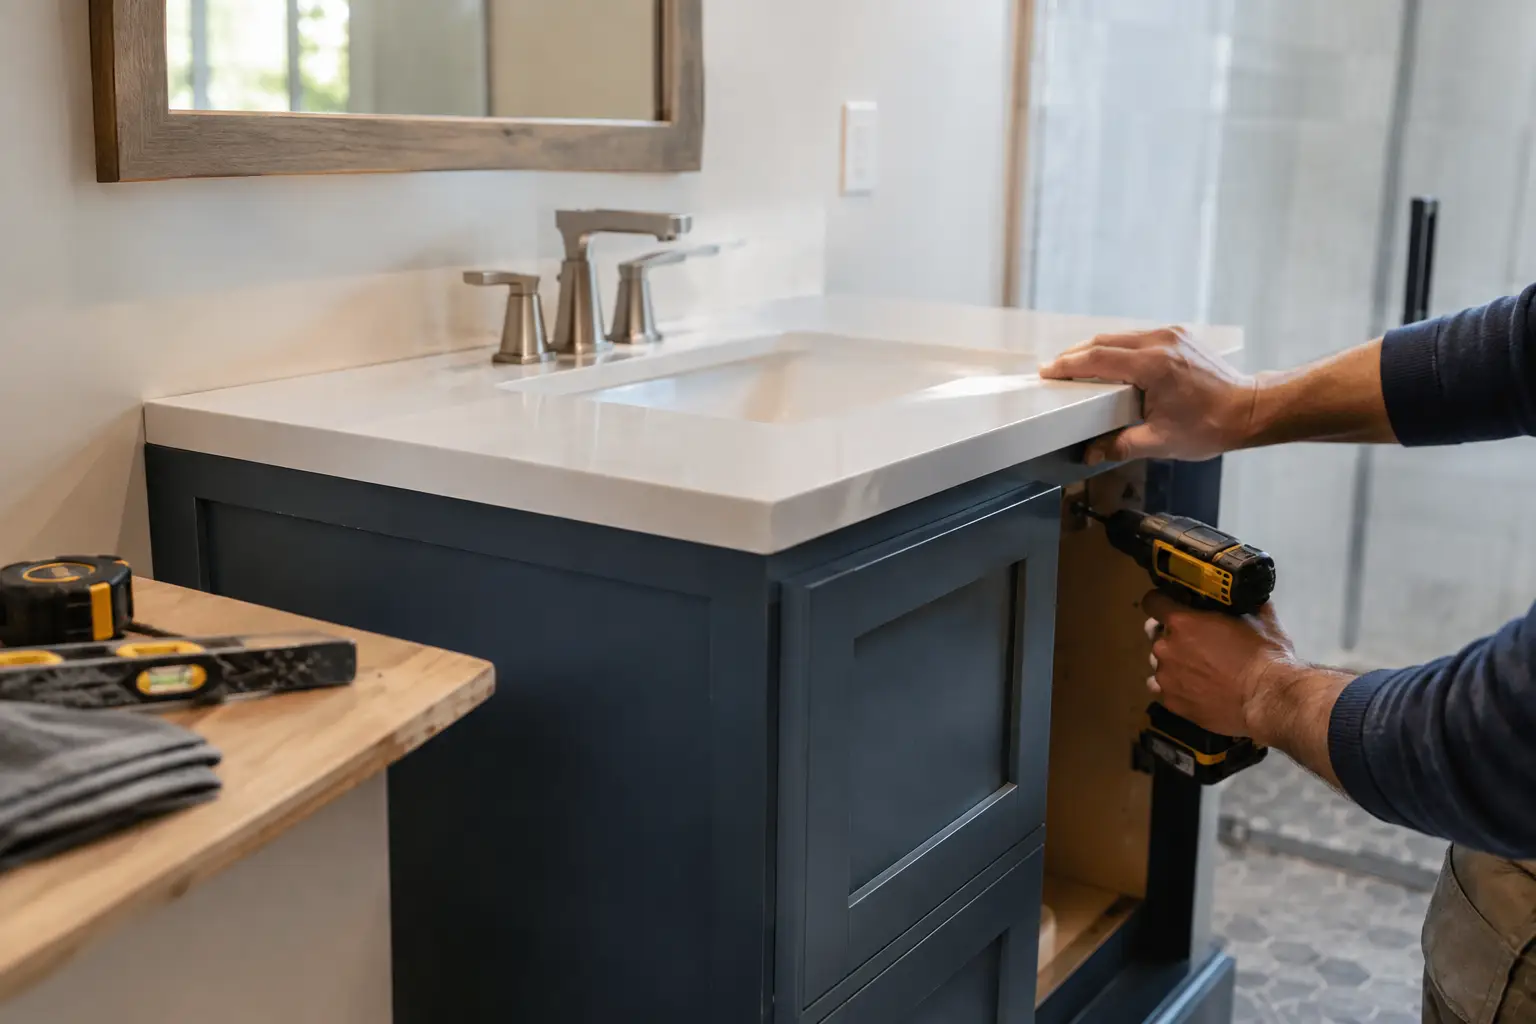
A new vanity can make an aging bathroom look finished fast, but it is also where cabinet work, plumbing, wall structure, and precise measurements meet. If you are researching how to install bathroom vanity cabinets, the goal is not simply to get the unit against the wall. It needs to sit level, anchor securely, connect without leaks, and leave drawers and doors working properly for years.
For a straightforward replacement using existing plumbing locations, an experienced homeowner may be able to handle much of the work. If drain pipes need to move, shutoff valves are worn, walls are damaged, or the vanity top requires custom fitting, bringing in a bathroom remodeling and plumbing professional can prevent a small upgrade from becoming a repair project.
Plan the Vanity Installation Before Removing Anything
Start by confirming the finished dimensions of the vanity, top, backsplash, and faucet. Measure the available wall width, depth from the wall to the door swing, and the clearance in front of the vanity. A cabinet that technically fits can still make a narrow bathroom feel cramped or block a nearby toilet, shower door, or entry door.
Check where the water supply lines and drain enter the wall. Compare those locations with the open plumbing space in the back of the new cabinet. A vanity with drawers, especially one with deep lower drawers, may conflict with a drain line that was positioned for an older open-base vanity. Never assume the plumbing will fit until you have measured the cabinet interior.
Inspect the floor and wall condition
Remove the old vanity only after turning off the water, then inspect the area it covered. Look for swollen flooring, soft subfloor, staining, loose tile, mold, or water damage around supply valves and the drain. Correcting these issues while the area is open is less expensive and less disruptive than reinstalling a vanity over a failing surface.
Use a level against the wall and across the floor. Many bathrooms, particularly in older homes, have floors that slope slightly. The vanity must be level for doors and drawers to operate correctly, even if that means shimming its base. It should not be forced to follow an uneven floor.
Gather the right tools and materials
The exact tool list depends on the vanity and countertop, but most installations require the following:
- Tape measure, pencil, level, and stud finder
- Drill and appropriate bits, driver, and cabinet screws
- Adjustable wrench, channel-lock pliers, and basin wrench
- Utility knife, shims, and a caulk gun
- Plumber’s putty or silicone, pipe thread tape, and bathroom-rated silicone caulk
Read the vanity, countertop, sink, and faucet instructions before beginning. Some tops are pre-attached, while others must be set after the cabinet is secured. That sequence affects how easily you can reach the mounting rail and plumbing connections.
How to Install a Bathroom Vanity Cabinet Securely
Begin by shutting off the hot and cold water valves beneath the old sink. Open the faucet to relieve pressure, then place a bucket under the trap. Disconnect the supply lines and remove the P-trap. If the old valves do not shut off completely, stop there. Replacing or repairing a shutoff valve is a plumbing job worth addressing before installing new finishes.
After disconnecting the faucet and drain, cut the caulk line along the backsplash and side edges of the old vanity. Remove mounting screws from inside the cabinet, then pull the unit away from the wall carefully. Avoid damaging drywall or tile, especially if the replacement vanity will not cover the same footprint.
Locate and mark wall studs at the vanity height. Most freestanding bathroom vanities still need to be fastened to studs through a rear mounting rail. Do not rely on drywall anchors for a heavy cabinet, stone countertop, or a vanity that will see daily use by a busy household.
Set the new cabinet in position without the countertop if possible. Check it for level from side to side and front to back. Add noncompressible shims beneath the base where needed, usually near the front corners or along the rear edge. Once it is level and flush with the wall, drive cabinet screws through the mounting rail and into studs. Tighten the screws firmly, but do not overtighten and pull the rail out of square.
If the vanity has adjustable legs, use them for small corrections, then secure the cabinet to the wall. Legs help accommodate uneven flooring, but wall fastening still prevents movement. For wall-hung vanities, proper blocking or stud placement is even more critical because the full load is carried by the wall structure.
Before installing the top, confirm that doors and drawers open smoothly and that the cabinet remains square. A cabinet can shift slightly as screws are tightened. Making this adjustment now is far easier than doing it after a countertop, sink, and faucet are in place.
Set the Countertop, Sink, and Faucet
Dry-fit the countertop first. Confirm that it sits evenly, aligns with the wall, and has the intended overhang on each side. If there is a backsplash, make sure the countertop is positioned so the backsplash will sit flat against the wall without forcing the top forward.
Install the faucet and drain assembly before setting the top when access below the sink will be limited. Follow the manufacturer’s instructions for gaskets, putty, or silicone. Different sink and drain materials have different sealing requirements, so using the correct product matters more than using extra sealant.
Apply the recommended adhesive or silicone to the cabinet’s top support points, then carefully lower the countertop into place. Stone and quartz tops are heavy and can crack if lifted or supported incorrectly. Two people are usually needed, and professional handling is the safer choice for large or custom tops.
Once the top is secure, run a neat bead of bathroom-rated silicone where the backsplash meets the wall and where the countertop meets any side wall. Do not caulk the entire cabinet base to the floor unless the manufacturer or local conditions call for it. In many cases, leaving the base unsealed makes it easier to spot a future plumbing leak.
Reconnect Plumbing and Test for Leaks
Reconnect the drain tailpiece, P-trap, and supply lines without cross-threading fittings. Hand-tighten first, then use a wrench for a modest final turn where required. Over-tightening plastic drain fittings is a common cause of cracked nuts and slow leaks.
Turn the water back on slowly and inspect every connection while the cabinet interior is still empty. Run hot and cold water for several minutes, fill the sink, then release it to put a larger volume of water through the drain. Check the supply lines, faucet base, shutoff valves, drain flange, trap joints, and the wall opening for moisture.
Return after an hour and inspect again. A dry paper towel placed beneath the trap and supply connections makes small drips easier to identify. Do not load the vanity or close up access until you are confident the plumbing is dry.
Common Installation Problems to Avoid
The most frequent problem is choosing a vanity based on exterior size alone. Internal drawer layouts, plumbing cutouts, and countertop overhangs can create conflicts that are not visible in a showroom photo. Measure the actual product specifications and your plumbing locations before ordering.
Another mistake is anchoring the cabinet only to drywall or failing to level it before tightening fasteners. That can lead to sticking drawers, uneven countertop seams, and a cabinet that shifts over time. Shims should support the cabinet solidly, not create gaps that leave the weight hanging from wall screws.
It is also tempting to reuse old supply lines and valves because they are already in place. If braided lines are corroded, valves are stiff, or a connection shows mineral buildup, replace the worn component before it is hidden behind a new vanity. This is a practical moment to make the plumbing as dependable as the new finish.
When Professional Installation Makes Sense
Professional installation is often the better value when the project involves moving supply or drain lines, replacing damaged drywall or flooring, setting a heavy stone top, modifying cabinet drawers, or correcting an out-of-level wall. It also makes sense when you are coordinating new tile, lighting, mirrors, and fixtures as part of a larger bathroom update.
For Dallas-Fort Worth homeowners, Wisez Improvement can handle vanity installation alongside the plumbing, repair, tile, and finish work that often comes with it. A coordinated approach helps avoid mismatched measurements, repeat visits, and the frustration of discovering a plumbing issue after the new cabinet is already in place.
A bathroom vanity should feel solid the first time you open a drawer, turn on the faucet, or lean in to use the sink. Taking the time to measure accurately, anchor to structure, and test every connection gives the upgrade the clean, reliable finish it deserves.