
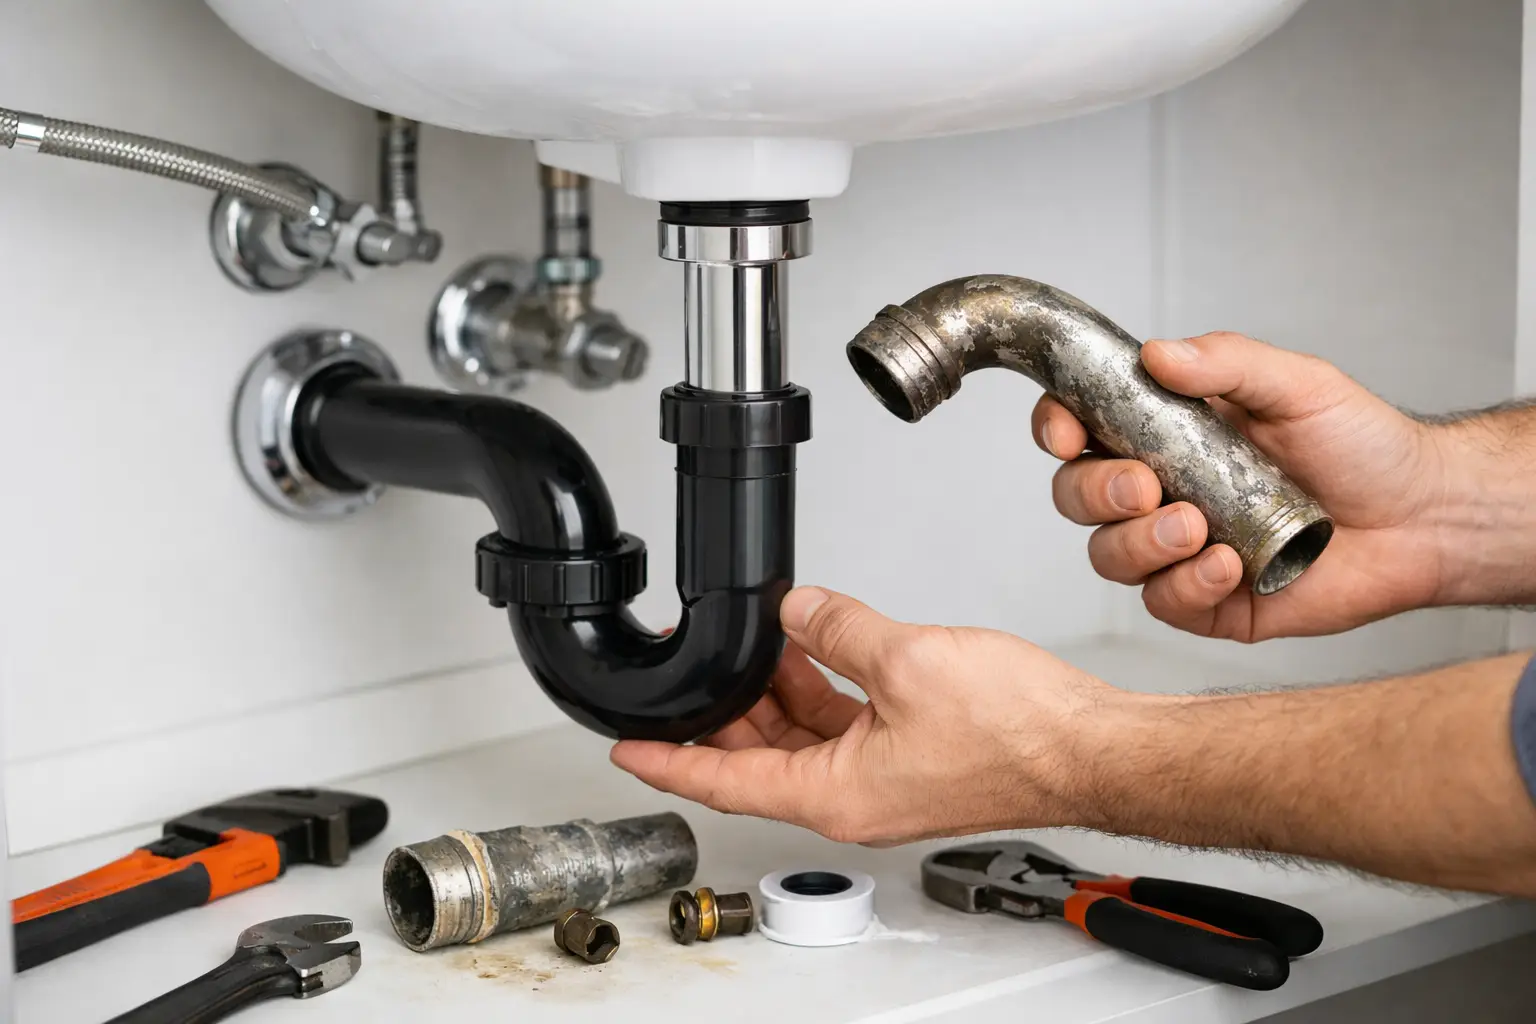
A slow drain, corroded shutoff valve, or persistent drip under the vanity can turn a simple bathroom into a daily frustration. To replace bathroom sink plumbing correctly, the visible pipes are only part of the job. The new connections must fit the sink, vanity, faucet, drain opening, and existing water lines without creating a hidden leak that damages the cabinet or flooring.
For many Dallas-Fort Worth homeowners, replacing sink plumbing comes up during a vanity upgrade, faucet replacement, or bathroom repair. It can be a manageable repair when the existing connections are accessible and in good condition. When pipes are corroded, the drain is improperly aligned, or the plumbing behind the wall needs attention, professional repair is usually the safer and more cost-effective choice.
When to Replace Bathroom Sink Plumbing
Bathroom sink plumbing does not always need to be replaced just because it looks old. A trap arm or supply line may still be serviceable if it is leak-free, properly installed, and compatible with the new fixture. Replacement makes sense when there is visible corrosion, cracked plastic fittings, recurring drain leaks, worn supply hoses, seized shutoff valves, or a drain assembly that no longer seals around the sink.
A new vanity often changes the decision. The cabinet may sit at a different height, have a different drawer layout, or leave less room for the existing drain and water lines. Forcing old plumbing into a new cabinet can lead to tight bends, poor drain slope, or an access problem the next time a repair is needed. Reworking the connections during installation creates a cleaner, more durable result.
If water has stained the vanity base, do not assume the leak is limited to the P-trap. Water can travel along pipes and fittings before it drips onto the cabinet. Check the faucet supply connections, shutoff valves, drain flange, tailpiece, pop-up assembly, and wall connection before replacing only one part.
Know What Is Being Replaced
The plumbing below a bathroom sink has two separate systems: the drain and the water supply. The drain side carries used water through the sink drain, tailpiece, P-trap, trap arm, and into the wall drain. The water supply side includes the hot and cold shutoff valves, flexible supply lines, and faucet connections.
Replacing a P-trap is usually straightforward when the drain outlet and sink tailpiece line up. Replacing shutoff valves can be more involved, especially if they are corroded, connected to older pipe materials, or difficult to turn off at the home’s main water supply. Moving a wall drain or changing supply pipe locations is not a simple under-sink repair. That work may require opening the wall, making code-compliant connections, and repairing drywall or tile afterward.
Material selection matters as well. PVC and ABS drain components are common, durable choices for concealed plumbing. Chrome-plated tubular brass is often used where pipes are exposed, such as with a wall-mounted sink or open vanity. Flexible corrugated drain pipes may appear convenient, but their ridges can collect debris and make routine cleaning harder. A properly fitted smooth-wall trap is the better long-term solution.
How to Replace Bathroom Sink Plumbing: A Practical Process
Before starting, clear the vanity and place a shallow bucket and towels beneath the pipes. Even with the sink unused, water will remain in the P-trap. Take several photos of the existing layout before disconnecting anything. They can help identify where the drain and supply lines were routed, particularly when working in a tight vanity.
Shut off water and inspect the valves
Turn off both shutoff valves under the sink, then open the faucet to release pressure. If the valves do not fully stop the water, do not continue by hoping the supply line will stay dry. Shut off water at the appropriate main valve and address the failed shutoff valves first.
Inspect the valves for corrosion, mineral buildup, or moisture around the stem and compression connections. In North Texas, hard water can leave deposits that make older valves difficult to operate. A valve that cannot be reliably turned off is a maintenance problem waiting for the wrong moment.
Remove the old drain components
Disconnect the trap by loosening the slip nuts and empty the water into the bucket. Remove the tailpiece and pop-up drain assembly as needed. If the drain flange is being replaced, clean away old plumber’s putty or sealant from the sink opening before installing the new assembly.
Avoid overtightening plastic slip nuts. They should be snug enough to seal, but excessive force can crack the fitting or distort the washer. Each connection needs the correct washer, properly seated and facing the right direction. A dry-fit check before final tightening helps prevent misalignment.
Install the new faucet connections and supply lines
If a new faucet is part of the project, install and secure it before connecting the water lines. Use supply lines with the correct end fittings and length. Lines that are too short may pull against the valve or faucet; lines that are excessively long can kink or crowd the cabinet.
Connect the hot and cold lines carefully, then hold the valve body steady while tightening the connection. Twisting the valve or supply pipe can damage an older fitting inside the wall. Once connected, turn the water back on slowly and inspect every supply connection with a dry paper towel. A small amount of moisture is still a leak and should be corrected immediately.
Assemble and test the drain
Install the drain body, tailpiece, and P-trap so the assembly has a natural path to the wall drain. The trap should not be stretched, sharply bent, or under tension. A drain that only fits when forced is a sign that the tailpiece length, trap configuration, or wall connection needs adjustment.
Run both cold and hot water for several minutes. Fill the basin partway, then release the water to test the drain under a stronger flow. Check every joint while the sink is draining and again after the water has stopped. Then place a dry towel beneath the assembly and revisit it later. Slow leaks often appear only after repeated use.
Common Problems That Call for a Professional
Some sink plumbing repairs become larger once the vanity is opened. A professional should assess the job when the drain stub-out is too high or too low for the new vanity, the pipe inside the wall is corroded, the sink backs up despite a clear trap, or water damage has softened the cabinet, drywall, or subfloor.
You should also call for help if the new sink has an unusual drain configuration, the faucet requires wall-mounted plumbing, or the project involves relocating the vanity. These changes affect more than appearance. Proper drain slope, venting, water line placement, access, and finish repairs all matter to the reliability of the bathroom.
A bathroom remodel is often the right time to correct these issues instead of hiding them behind a new cabinet. Wisez Improvement handles bathroom plumbing repairs alongside vanity, fixture, tile, and renovation work, so homeowners can address the source of the problem while improving the finished space.
Protect Your New Vanity From Future Leaks
After installation, make under-sink checks part of regular home maintenance. Open the cabinet every few months and look for dampness, water marks, swollen particleboard, rust on metal components, or a musty odor. Catching a minor drip early can save a vanity base and prevent flooring damage.
Do not store cleaning products where they can press against supply lines or trap fittings. Keep a small clearance around the plumbing so valves remain accessible. If the sink begins draining slowly, remove hair and debris from the stopper before relying on harsh chemical drain cleaners, which can be tough on older pipes and seals.
A properly installed sink should drain freely, shut off cleanly, and leave the cabinet beneath it completely dry. If yours does not, addressing it now is usually far easier than repairing the damage after the next leak has had time to spread.