
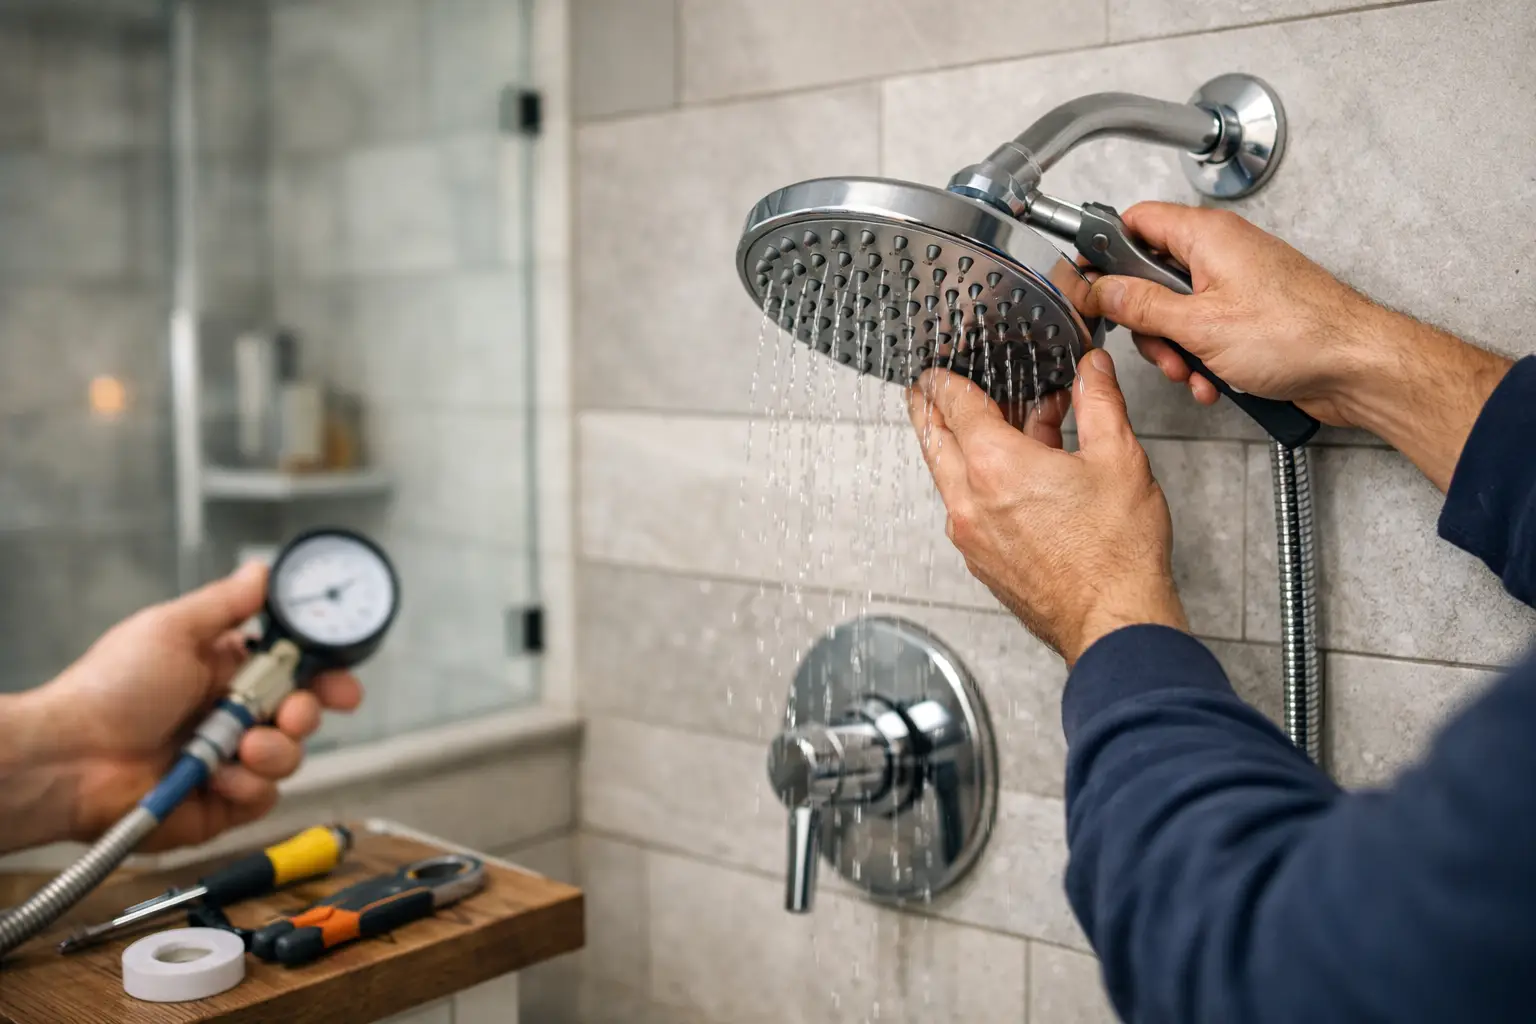
A shower that fades from a steady rinse to a frustrating trickle can make a perfectly good bathroom feel worn out. Before replacing fixtures or planning a larger repair, learn how to fix low shower pressure by identifying whether the restriction is at the showerhead, inside a valve, or somewhere in the home’s plumbing.
The most useful first question is simple: Is the pressure low only in one shower, or throughout the house? That answer helps separate an inexpensive fixture issue from a plumbing problem that needs professional attention.
Start by Identifying Where the Pressure Drops
Test the shower on both hot and cold settings, then run the bathroom sink and another shower or faucet in the home. A weak stream at one shower usually points to the showerhead, its supply line, or the shower valve. Low flow at several fixtures may indicate a partially closed main valve, a pressure regulator issue, mineral buildup in older pipes, or a supply-side concern.
Pay attention to whether the problem affects hot water, cold water, or both. If cold water is strong but hot water is weak, the issue may be related to a water heater shutoff valve, sediment near the heater, or the hot-water side of the shower valve. If both sides are weak at one shower, start with the fixture and valve.
Also consider when the problem began. Sudden low pressure after plumbing work can mean a valve was not fully reopened or debris entered a fixture. Gradual loss of pressure is more commonly caused by mineral deposits, corrosion, or a cartridge that is wearing out.
Clean the Showerhead Before Replacing It
Dallas-Fort Worth water can leave mineral deposits inside showerheads over time. Even when the outside looks clean, the small spray openings and internal screen can become restricted enough to noticeably reduce flow.
First, remove the showerhead according to the manufacturer’s instructions. Hold it over a sink or bucket and inspect the inlet screen and spray nozzles for grit, white mineral scale, or small pieces of deteriorated rubber washer. Rinse out loose debris, then soak the showerhead in white vinegar for several hours. A soft toothbrush can help clear the individual spray openings without damaging the finish.
After soaking, flush the showerhead thoroughly with clean water. Before reinstalling it, briefly run water from the shower arm into a bucket or towel-covered container. This clears loose debris that may be sitting in the pipe. If water flows strongly from the shower arm but becomes weak after the showerhead is reattached, the showerhead is the source of the problem.
Do not use a nail, drill bit, or other hard metal tool to enlarge spray holes. That can damage the fixture and create an uneven spray pattern. It is also not a good idea to remove a built-in flow restrictor just to force more water through. Modern shower fixtures are designed to meet water-use requirements, and bypassing internal components can create performance issues or violate product specifications. If the showerhead is clean but still underperforming, replacing it with a quality, properly rated fixture is usually the better move.
Check the Shower Valve and Cartridge
When cleaning the showerhead does not help, the shower valve is the next likely place to investigate. Behind the handle, the valve uses an internal cartridge or stem to control the mix and volume of hot and cold water. Mineral scale, sediment, and normal wear can restrict that cartridge over time.
A common symptom is a shower that has low flow but still produces normal pressure from the sink in the same bathroom. Another is a handle that feels stiff, difficult to adjust, or inconsistent when moving between hot and cold.
Turn off the water supply before removing any shower handle or trim. Depending on the valve design, you may need to shut off small service stops behind the trim plate or turn off water to the home. Take photos as you disassemble the handle and trim so parts go back in the correct order. Once the cartridge is exposed, look for visible debris, cracked seals, or heavy scale.
Some cartridges can be cleaned, but replacement is often the more reliable repair, especially in an older shower. The trade-off is that cartridges are not universal. Using the wrong replacement can lead to leaks, temperature-control problems, or a handle that does not fit correctly. If you cannot identify the valve brand and model, or the cartridge is stuck in place, it is best to stop before damaging the valve body inside the wall.
Make Sure Shutoff Valves Are Fully Open
Partially closed valves can create low shower pressure, particularly after a repair, a water heater replacement, or work performed elsewhere in the home. Check accessible shutoff valves under nearby sinks, at the water heater, and near the main water line. A handle-style ball valve should generally be parallel with the pipe when fully open. A round gate-style valve should be turned counterclockwise until open, but do not force an older valve that feels seized.
If the home has a pressure-reducing valve, often called a PRV, it may be located near the main water entry. This device protects fixtures from excessively high municipal water pressure, but a failing or improperly adjusted PRV can reduce pressure throughout the house. Because pressure adjustment involves the home’s overall plumbing system, it should be tested with a pressure gauge rather than guessed at by turning an adjustment screw.
High pressure is not the goal. Excessive water pressure can strain supply lines, appliance valves, fixtures, and water heaters. A qualified plumber can determine whether the house has a true low-pressure condition or simply a localized restriction.
Consider the Plumbing in an Older Home
In older Dallas-Fort Worth homes, aging galvanized steel pipes can corrode internally. Unlike a clogged showerhead, this type of restriction often affects multiple fixtures and gets worse slowly over the years. Brownish water, recurring sediment, uneven pressure between rooms, and frequent small leaks can all be signs that the issue extends beyond a single shower.
A remodel can reveal opportunities to correct these problems while walls are already open. Replacing a failing valve, updating supply lines, repositioning controls, or converting an outdated tub into a custom shower can improve both the bathroom’s appearance and daily function. However, a remodel is not always necessary for low pressure. If the problem is isolated to a cartridge or fixture, a targeted repair is more cost-effective and less disruptive.
When Low Shower Pressure Needs a Professional Repair
DIY cleaning is reasonable when the issue is clearly limited to a showerhead. Call a plumbing professional when low pressure affects several fixtures, pressure changes suddenly without an obvious cause, a shower valve leaks behind the wall, or the home has older piping with repeated performance problems.
You should also get help if the shower alternates between hot and cold, if you hear banging or whistling in the pipes, or if removing the trim reveals moisture, mold, or wall damage. Those conditions can point to a failed valve, hidden leak, pressure imbalance, or a repair that requires opening the wall safely.
For homeowners planning a bathroom update, Wisez Improvement can assess whether low shower pressure is a straightforward repair or part of a larger plumbing and renovation need. A clear diagnosis before selecting new tile, fixtures, or glass helps prevent a beautiful new shower from inheriting an old plumbing problem.
A strong shower should feel consistent, not unpredictable. Start with the simple checks, avoid forcing aging plumbing parts, and address the underlying cause before it turns a daily annoyance into a more expensive repair.