
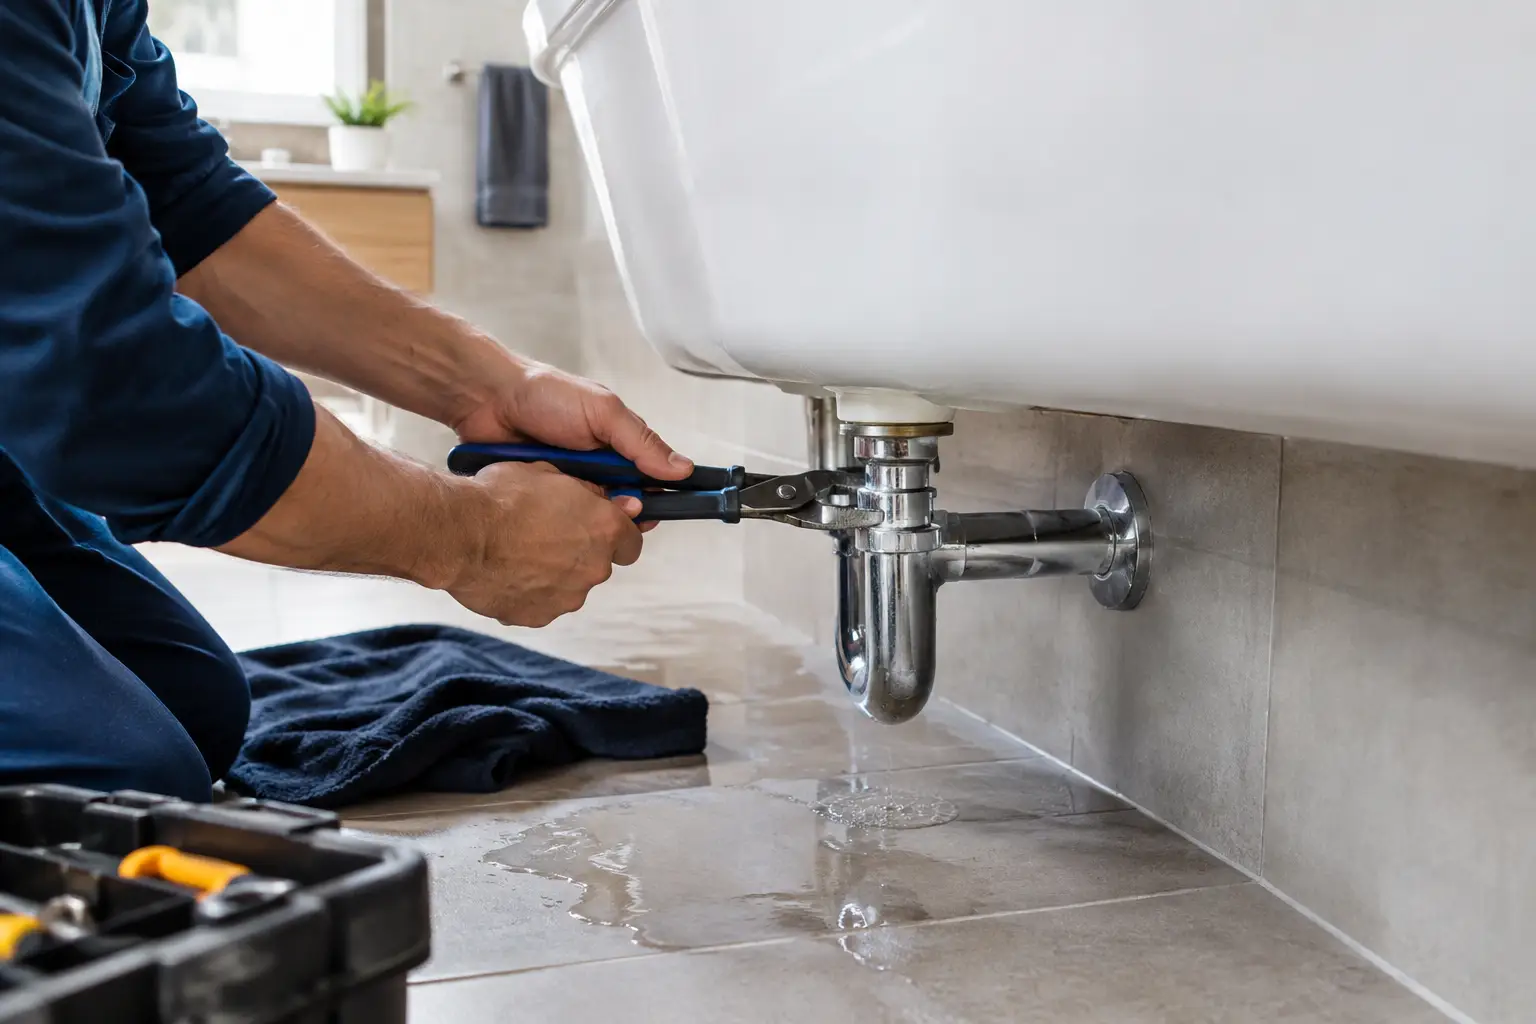
A small puddle beside the tub can be more than an annoyance. Water can work into flooring, drywall, framing, and the ceiling below long before there is visible damage. Knowing how to fix leaking tub issues starts with identifying exactly where the water is escaping. The right repair for a worn drain gasket is very different from the right repair for a cracked tub, failed shower valve, or loose grout line.
For Dallas-Fort Worth homeowners, acting early can prevent a manageable bathroom repair from becoming a larger restoration project. Start with a careful inspection, make only the repairs that match the source of the leak, and bring in a qualified professional when water is getting behind finished surfaces.
First, Find Where the Tub Is Leaking
Do not assume water near the tub means the tub itself has failed. Dry the area completely, place towels around the base of the tub, and test one water source at a time. This simple process narrows down the problem without removing tile or opening a wall unnecessarily.
Fill the tub several inches and let it sit without using the faucet. If the water level drops or moisture appears below the tub, the drain assembly, drain shoe, or plumbing connection may be leaking. Next, drain the water. A leak that appears only while the tub drains often points to the drain seal or drainpipe.
Then test the faucet and shower separately. Run water directly into the tub without splashing the walls. If no water appears, run the shower and direct water at the tile, corners, and tub surround. Leaks that happen only during a shower are commonly caused by failed caulk, grout, or a gap around the tub spout or shower valve trim.
Look for these clues as you test:
- Water gathers near the tub base after bathing or showering.
- The ceiling or wall below the bathroom shows staining, bubbling paint, or soft spots.
- The faucet drips into the tub even when it is turned off.
- Water comes from the overflow plate or behind faucet handles.
- Caulk is cracked, missing, moldy, or pulling away from the tub and wall.
If the bathroom is above another finished room, avoid repeated testing once you see signs of a leak below. Continued water exposure can damage drywall and insulation quickly.
How to Fix a Leaking Tub From the Drain
A tub that leaks while holding water usually has a problem around the drain. The visible drain flange may be loose, its plumber’s putty or gasket may have failed, or the connection beneath the tub may be damaged.
Start by removing the stopper and checking whether the drain flange turns easily. A loose flange can sometimes be tightened with a drain removal tool. If it needs to come out, clean away old sealant from the flange and opening before reinstalling it with the correct plumbing sealant for the drain type. Avoid overtightening. Excess force can damage an older tub or distort a plastic drain fitting.
The overflow assembly is another frequent source. This is the round plate located high on the inside wall of the tub. Water may escape behind it if the overflow gasket has dried out, shifted, or cracked. Replacing the gasket generally requires removing the plate, positioning a new gasket behind the tub wall, and reinstalling the plate evenly.
These repairs are reasonable for an experienced homeowner when there is clear access and no sign of damaged piping. However, the drain shoe and connections under the tub are often difficult to reach. In many homes, access requires working from a ceiling below, a wall behind the tub, or an access panel. If you cannot see and verify the connection, a professional repair is the safer choice.
Fixing a Leak Around the Tub Edge or Surround
When a tub leaks only during showers, the tub may be sound but water is getting behind the surrounding finish. The most common entry point is failed caulk at the joint where the tub meets tile, a wall panel, or a shower surround.
Remove loose or deteriorated caulk completely instead of applying a new bead over the old one. The surface must be clean, dry, and free of soap film. Use a mildew-resistant bathroom silicone designed for tubs and showers, then allow it to cure according to the product instructions before using the shower.
Grout deserves a closer look as well. Grout can crack, but grout itself is not the waterproof layer behind tile. Replacing cracked grout and resealing tile may improve the surface, yet it will not solve a failed waterproofing system behind the wall. If tile is loose, the wall feels soft, or staining continues after fresh caulk and grout repairs, water may already be behind the tile.
That is the point where a targeted bathroom repair may be more cost-effective than repeated patching. Removing and rebuilding a compromised section correctly can protect the rest of the bathroom and give the finished surface a cleaner, longer-lasting result.
Stop a Dripping Tub Faucet Before It Wastes Water
A faucet that drips into the tub typically has a worn cartridge, stem, washer, or valve seat. Besides the sound and water waste, a constant drip can leave mineral buildup and discoloration on the tub finish.
Turn off the water supply before taking apart the faucet. Some bathrooms have local shutoff valves, while others require shutting off the home’s main water supply. Cover the drain so small screws do not fall into the plumbing, then remove the handle and trim carefully. The internal replacement part must match the faucet brand and model.
This is one repair where guessing can create delays. Cartridges and stems can look similar but fit differently. If the handle is seized, the valve body is corroded, or the faucet continues leaking after a correct replacement part is installed, stop there. Forcing an old valve can cause a leak inside the wall, which is a much larger repair than a faucet drip.
When a Leaking Tub Needs Professional Repair
Some tub leaks are surface-level maintenance issues. Others signal hidden plumbing or structural damage. Calling for help early is especially wise if water is visible on the ceiling below, the subfloor feels soft, the tub moves when stepped into, or there is a persistent musty odor.
A professional should also inspect leaks coming from behind the faucet wall, from inaccessible drain piping, or from a crack in an acrylic, fiberglass, porcelain, or cast-iron tub. Surface repair kits may improve the appearance of a small chip, but they are not always a reliable answer for a crack that flexes or reaches through the tub material.
For aging bathrooms, the repair decision may depend on the condition of the full space. If the tub, plumbing, tile, and vanity are all approaching the end of their service life, repeated spot repairs can add up. A planned tub conversion or bathroom remodel can address the leak, update worn materials, improve function, and correct older plumbing connections in one coordinated project.
Protect the Bathroom While You Arrange Repairs
Once you identify an active leak, limit water exposure immediately. Do not use the tub or shower until the source is repaired if water is entering walls, floors, or the room below. If the leak is limited to a dripping faucet, shut off water to the fixture when possible.
Dry exposed surfaces with towels and ventilation, and move stored items away from the affected area. Take clear photos of water stains, damaged caulk, and visible plumbing before anything is removed. Those details can help a repair professional trace the path of the water and determine whether surrounding materials need attention.
A leaking tub rarely becomes less expensive by waiting. A precise diagnosis, a clean repair, and clear communication about what is happening behind the finished surfaces are what protect your bathroom for the long term. If you are unsure where the water is coming from, Wisez Improvement can assess the issue and recommend a practical repair path for your home.