
A shower that drips after it is turned off, delivers only lukewarm water, or suddenly changes temperature is more than an annoyance. It can point to a worn cartridge, damaged valve body, or a plumbing issue behind the wall. If you are researching how to replace shower valve components, the first step is knowing which part has actually failed. Replacing the wrong part can turn a straightforward repair into unnecessary wall and tile work.
For many Dallas-Fort Worth homes, a shower valve repair is manageable when the problem is limited to the cartridge. A full valve replacement is a larger plumbing job, especially in older bathrooms with original pipes, limited access, or finished tile surrounding the shower.
First, Determine What Needs Replacing
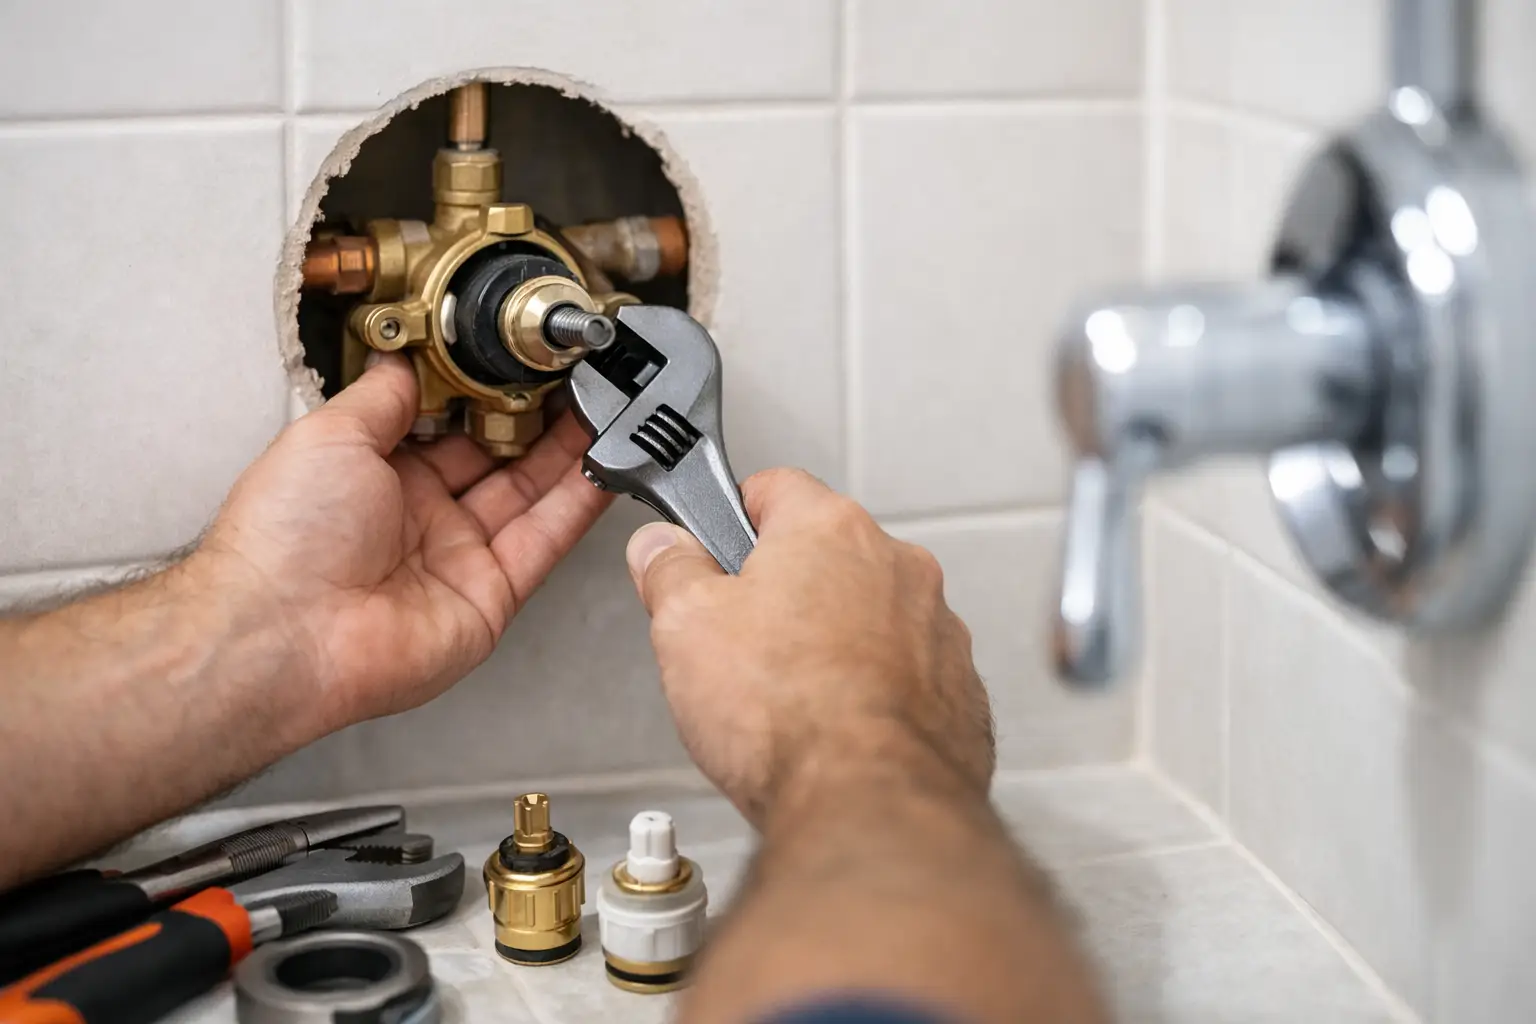
The term “shower valve” is often used for several different parts. The visible handle and trim plate are not the valve itself. Behind them, there is usually a cartridge that controls water flow and temperature. The cartridge sits inside the valve body, which is connected to the home’s hot and cold water lines behind the wall.
A cartridge replacement may solve a dripping showerhead, a stiff handle, poor temperature control, or reduced water flow. It is usually completed through the opening behind the trim plate, with no wall demolition required.
A valve body replacement is different. It may be necessary when the brass body is cracked, corroded, leaking inside the wall, incompatible with a new trim kit, or missing modern anti-scald protection. This work often requires access from the back side of the shower wall or removal and repair of tile. If the bathroom is already being remodeled, replacing an aging valve body is usually a smart preventive upgrade.
Before ordering parts, identify the fixture brand and model. Cartridges are not universal. Remove the handle and trim, then look for a manufacturer name or part number on the cartridge, valve body, or trim plate. Taking clear photos and bringing the old cartridge to a plumbing supply store can help avoid a mismatch.
How to Replace a Shower Valve Cartridge
If you have confirmed that the cartridge is the problem, plan for a careful repair rather than a rushed one. Mineral buildup, age, and previous repairs can make an old cartridge difficult to remove.
Start by shutting off the water. Some shower valves have integral service stops behind the trim plate, but many do not. If there are no local stops, turn off the main water supply to the home. Open the shower faucet afterward to confirm the lines are depressurized.
You will generally need a screwdriver, Allen wrench, adjustable wrench or pliers, cartridge puller, silicone-based plumber’s grease, and a replacement cartridge made for your valve. Keep a towel in the tub or shower pan to protect the finish and prevent small screws from disappearing down the drain.
Remove the handle, escutcheon plate, and any sleeve or temperature-limit stop. The cartridge may be held in place by a retaining clip, bonnet nut, or both. Take a photo before pulling parts apart so you can reinstall the temperature stop and handle in the correct position.
Once the retaining hardware is removed, pull the cartridge straight out. Do not force it with excessive twisting or prying. A cartridge that is stuck can damage the valve body, particularly in older brass fixtures. A cartridge puller designed for the specific brand applies even pressure and is often the safer option.
Clean mineral deposits from the valve opening with a soft brush or cloth. Apply a small amount of silicone plumber’s grease to the new cartridge O-rings, then insert it in the correct orientation. Most cartridges have hot and cold markings or alignment tabs. Reinstall the retaining clip or nut, replace the trim, and turn the water back on slowly.
Test the shower before fully tightening every decorative piece. Check for drips, confirm that hot and cold are oriented correctly, and make sure the handle shuts off completely. If the temperature is reversed, the cartridge may need to be rotated or reinstalled according to the manufacturer’s instructions.
When the Entire Shower Valve Must Be Replaced
A new cartridge cannot fix every problem. Water stains on the ceiling below a second-floor bathroom, damp drywall behind the shower, a leak that occurs only when the valve is on, or corrosion around the valve body can indicate a deeper failure.
Replacing the complete valve means disconnecting and reconnecting plumbing lines. Depending on the home, those lines may be copper, PEX, CPVC, or galvanized steel. Each material requires the right fittings, tools, and connection method. A poor connection behind a finished wall can create a slow leak that goes unnoticed until it damages framing, insulation, drywall, or flooring.
Access is the main consideration. In some homes, a plumber can reach the valve from a closet, bedroom, or utility area on the opposite side of the shower wall. A clean access panel may be a practical solution when it is located in a less visible space. In other bathrooms, access requires opening tiled shower walls, which can lead to additional waterproofing and tile repair work.
This is where the repair-versus-remodel decision matters. If your shower has dated tile, failing grout, an awkward layout, or multiple aging fixtures, opening the wall for a valve replacement may be an opportunity to address larger bathroom issues at once. If the surrounding shower is in good condition, a targeted plumbing repair and carefully finished access opening may be the better value.
Safety and Code Considerations for Dallas-Fort Worth Homes
Modern shower valves typically include pressure-balancing or thermostatic anti-scald protection. These features help limit sudden temperature changes when another fixture in the home uses water, such as a flushing toilet or washing machine. If you are replacing an old valve body, installing a code-compliant pressure-balancing valve is a practical safety improvement for families, guests, and older homeowners.
Water lines should be secured properly, and the valve should be set at the correct depth for the finished wall. Installing it too far forward or too far back can prevent the trim plate and handle from fitting correctly. In a tiled shower, the valve opening must also be sealed so water cannot work its way into the wall cavity.
Avoid relying on caulk alone to solve a plumbing leak. Caulk can help finish trim edges, but it cannot repair a failed pipe connection, cracked valve body, or damaged waterproofing system.
Signs It Is Time to Call a Professional
A homeowner can often handle a simple cartridge swap when the valve is accessible and the replacement part is clear. It is best to bring in a qualified plumbing and bathroom repair professional when the cartridge will not come out, the shutoff valve does not fully stop water, the valve body is leaking, or the work requires soldering, pipe modification, wall access, or tile repair.
Professional help is also worthwhile when you are unsure whether the leak is coming from the valve, shower arm, drain, or waterproofing behind the wall. Accurate diagnosis prevents paying for a repair that does not solve the real problem.
At Wisez Improvement, bathroom repair work is approached with the same care as a renovation project: identify the cause, protect the surrounding finishes, complete the repair correctly, and leave the space ready to use. For homeowners planning a larger shower update, coordinating plumbing, tile, fixtures, and glass work under one project plan can also reduce avoidable delays.
A shower valve should operate quietly, shut off fully, and provide dependable temperature control every day. When it does not, address the issue before a small internal leak becomes a repair to the walls, ceiling, or finished bathroom around it.